
How to Protect Your Home from Earthquakes
- Earthquake-proofing your home
- Building codes and regulations
- Seismic retrofitting techniques
- Emergency preparedness plans
Earthquake-proofing your home
Understanding the Basics of Earthquake-resistant Design
When I first started learning about protecting my home from earthquakes, I realized that the basics of earthquake-resistant design are crucial. It’s all about how your house is constructed. The materials and structure matter—especially when the ground starts shaking.

A well-built home can sway gently without crumbling. For instance, houses on sturdy foundations fare much better than those built on sandy soil. And let me tell you, understanding the physics behind it really opened my eyes. I mean, it’s like knowing the secret sauce that keeps your house standing tall during a shake.
So, if you’re looking to make your home more earthquake-proof, begin by evaluating your home’s foundation. It’s the backbone of your whole structure. Think of it like upgrading to a better internet plan; it gives you a smoother experience and stronger security.
Bracing and Reinforcing Your Structure
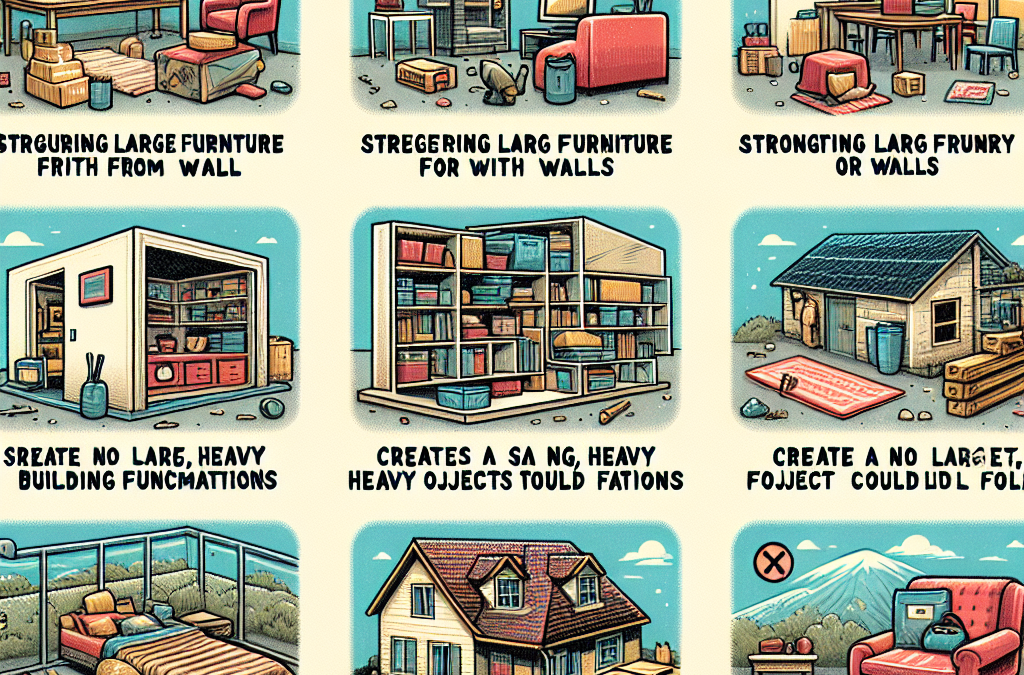
After getting down the basics, I started thinking about bracing and reinforcing. This step isn’t just for those living in high-risk areas; it’s vital for everyone. Adding braces to your walls helps support them during an earthquake—kind of like adding more muscle to your workout routine.
Thank you for reading this post, don't forget to subscribe NOW for FREE!

You might want to consider plywood sheathing. It adds that extra layer of support to your walls and can save you from extensive damage. Plus, it’s relatively simple to install if you’re handy, and honestly, who doesn’t love a good weekend DIY project?
Lastly, check your roof. Roof-to-wall connections are often overlooked, but they’re so important. A solid connection here means a better chance of everything staying intact, even on the wildest of days!
Choosing the Right Materials
Choosing the right materials can make all the difference. I remember when my neighbor used lightweight materials for his roof—it was probably one of the best decisions he made. These materials reduce the overall load on your house, decreasing the risk of collapse.
Reinforced concrete and steel are great options for framing and supports. They have immense strength and can flex just right during an earthquake. It’s like having a great friend who can tough it out with you in tough times.
Don’t forget about non-structural materials either, like using flexible plumbing and electrical connections. These small choices can prevent major frustrations after the shaking stops. Believe me, being proactive now saves a ton of headaches later!
Building codes and regulations
Staying Informed About Local Regulations
As I was figuring all this out, I learned that following local building codes is a must. These regulations are like a well-crafted recipe; they ensure you’ve got the right ingredients for safety. Many regions have specific codes addressing seismic safety because they’re familiar with the risks.
Check with local authorities. They usually have guidelines outlining the necessary precautions to take when building or renovating a home. You might be surprised by what you find! Catching this information early can save you a lot of headaches down the road.
It’s also a good idea to connect with local builders or contractors who are familiar with these codes. They can guide you through the ins and outs so you don’t miss anything vital.
Understanding the Importance of Professional Inspections
I’ve always advocated for getting professional inspections, especially if you’re in a seismic zone. Having an expert review your home can reveal hidden vulnerabilities that you might overlook.
An inspector can provide a comprehensive analysis of your home’s structure and recommend where improvements can be made. Think of it as a friendly check-up for your home, ensuring everything’s in tip-top shape!
Investing in a professional inspection might seem pricey upfront, but in the long run, it’s worth it. Nobody wants to walk back home after an earthquake to a big ol’ surprise of damage that could’ve been caught early.
Renovation Guidelines to Follow
If you’re considering renovations, pay attention to how the changes could affect your home’s seismic resilience. This is where consulting your local codes comes in handy again.
For instance, if you’re converting a garage into living space, it’s essential to ensure that the new walls and supports align with earthquake safety standards. It may take a little extra effort, but it could make all the difference when the ground starts to shake.
Remember, going the extra mile during renovations can keep your home safe over the long haul. It’s all about creating an environment that stands resilient against nature’s challenges.
Seismic retrofitting techniques
What is Seismic Retrofitting?
When I first heard about seismic retrofitting, I was intrigued yet baffled. Essentially, retrofitting is updating your existing home to make it safer against earthquakes. Think of it like upgrading your phone; it keeps you running smooth and secure.
Simple additions can help beef up your home, allowing it to withstand the forces of Mother Nature. From securing the foundation to strengthening walls, these methods can drastically improve your house’s resilience.
Knowing the right techniques can be empowering, especially if you’re thinking about how to make your home safer. It’s all part of doing our best to protect what we love.
Methods for Retrofitting Your Home
Digging deeper into retrofitting, I found several effective methods to help. One of my favorites is using plywood shear walls. These create stronger lateral support and can be a game changer if you live in a high-risk area.
Another method is to add steel braces, which can absorb and transfer seismic energy efficiently. Bracing helps prevent walls from collapsing, which is a comforting thought when you think about what could happen during a quake.
Lastly, base isolators are an advanced option; they can physically separate your home from the ground’s motion. Imagine being on a boat that gently sways, while the waves crash around you!
Finding Experienced Retrofitting Contractors
Now that you’re ready to consider retrofitting, finding the right contractor is key. I can’t stress how important it is to choose someone experienced in this niche. It’s like picking a trusty mechanic; you want someone who understands their stuff!
Look for contractors who specialize in seismic retrofitting and check their references. Learning from others’ experiences can save you time and money. Plus, reading reviews can offer insights into their work ethic and reliability.
Connecting through local community groups can also be a treasure trove of recommendations. First-hand experiences can steer you in the right direction, ensuring you find someone who cares as much about your home as you do!
Emergency preparedness plans
Creating a Family Emergency Plan
One of the most eye-opening moments for me was realizing that I needed an emergency plan. It’s easy to think, “It won’t happen to me,” but life can throw unexpected challenges—like earthquakes!
Start by creating a family communication plan. It can be simple—like having a designated meeting spot or a group text. The idea is that everyone knows what to do and where to go after a quake.
Once you’ve got that ironed out, invest time in practicing your plan. It might feel silly at first, but trust me, having a routine can alleviate panic when it matters most.
Preparing a Supply Kit
Another layer of preparedness is developing an emergency supply kit. I’ve learned that these kits should include essentials like water, non-perishable food, a flashlight, batteries, and a first-aid kit. Pretty standard stuff, right?
Mix in unique items that your family might need. For me, it’s a stash of my favorite snacks; hey, comfort food can make a tough situation better! And don’t forget about important documents—keeping copies in a waterproof bag can save you stress later.
Lastly, make sure to update your kit regularly. I often check mine a few times a year, replacing expired items and ensuring it reflects any changes in my family’s needs.
Staying Informed About Local Resources
Getting connected to your community is also an important part of emergency preparedness. Knowing where to find local resources for help post-earthquake is key.
Local schools, community centers, and fire departments often have resources and information available. They can provide you with knowledge about emergency services available in your area after a quake, and trust me, that sense of security goes a long way.
I also recommend tuning into community meetings or online forums; they can be incredible sources for learning about disaster readiness events and resources nearby. Connecting with others in your community can even help form support networks and shared plans.
FAQs About Protecting Your Home from Earthquakes
What is the best way to earthquake-proof my home?
The best way to earthquake-proof your home is to start with a solid foundation, strengthen your walls with bracing materials, and ensure you’re following local building codes.
How can I find a reputable contractor for seismic retrofitting?
You can find a reputable retrofitting contractor by checking online reviews, talking to friends or neighbors for recommendations, and looking for specialists in your area with experience specific to seismic safety.
What should be included in an emergency supply kit?
Your emergency supply kit should include water, non-perishable food, a flashlight, batteries, a first-aid kit, essential medications, and copies of important documents.
How frequently should I update my emergency kit?
It’s a good practice to check and update your emergency kit at least twice a year. This way, you can replace expired items and adjust the contents based on any changes in your family’s needs.


