
Assessing Your Needs and Environment
Understand the Purpose of Your Shelter
Before diving into building a shelter, I always remind myself to assess what I actually need it for. Are we talking about a short-term camping trip gone awry or a more prolonged situation due to unexpected events? Having a clear purpose in mind lays down the foundation (pun intended) for everything else.
For me, part of this assessment includes figuring out who will stay in this shelter. Is it just me, or do I have a family or a group of buddies? The more people involved, the more critical it becomes to have enough space. So this is definitely something to consider before picking up that axe.
Lastly, let’s not forget about the environment. Will your shelter have to withstand harsh winters or scorching summers? Different climates’ll prompt different design elements, and don’t forget to take local wildlife into account! You wouldn’t want to attract any unwanted guests.

Survey Your Surroundings
I can’t stress enough how important it is to explore the area where you plan to build. Finding a good location can make all the difference in the world. Look for flat ground that’s elevated to avoid flooding but also close enough to a water source. Plus, being near natural resources can ease the building process.
While scouting around, I usually pay attention to the direction of the wind and the position of the sun. Shelter design often depends on these factors—a place that blocks cold winds and allows sunlight to come in during the day is a total win!
Watch out for things like rotten trees or hanging branches; they could bring an unexpected crash if the weather decides to get rowdy. Avoiding such hazards will make your haven a lot more secure in the long run.
Thank you for reading this post, don't forget to subscribe NOW for FREE!

Gather the Right Resources
Your shelter is only as good as the materials you use, so I make sure to gather up everything I might need. Local materials like branches, leaves, and even stones can work wonders. However, always evaluate how sturdy or insulating each material is before committing.
Trust me; nothing feels worse than spending hours on a shelter only to find it’s flimsy as a house of cards. A solid framework can be achieved with hardwood sticks or logs for the main structure, and that’ll keep your shelter from collapsing—something I learned the hard way!
Don’t forget about insulation! Using grass or leaves can really help keep you warm in chilly conditions, while also giving your shelter that cozy vibe. Who says survival can’t have a touch of comfort?
Designing Your Shelter Structure
Selecting the Right Shelter Type
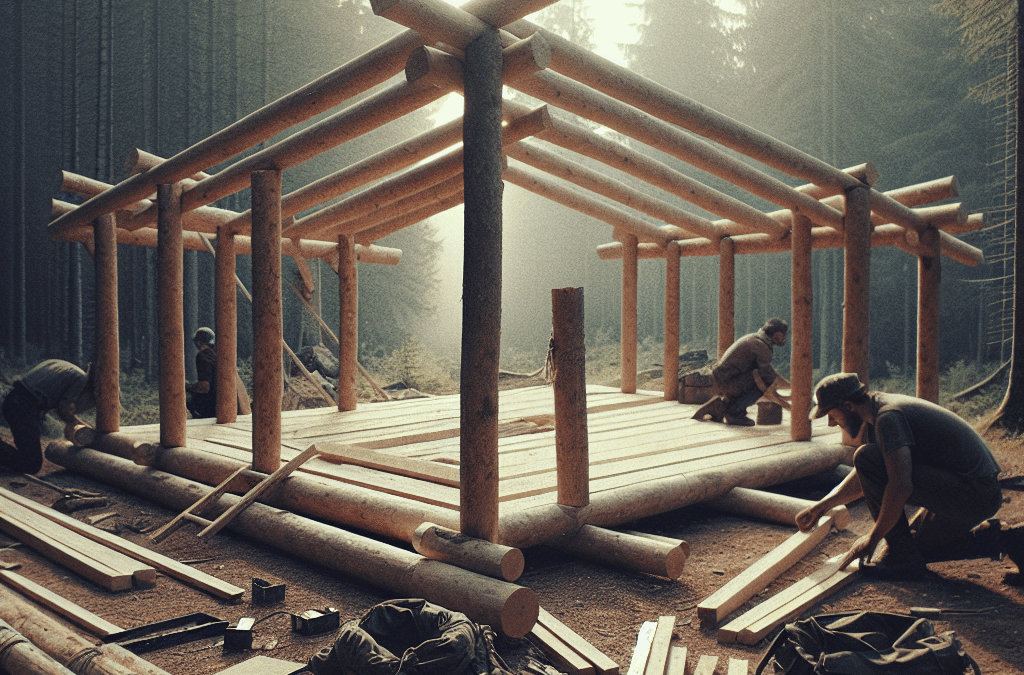
Once I’ve got my resources sorted, the fun part begins: designing the shelter! I usually weigh the pros and cons of different shelter types—will I go for a debris hut, a lean-to, or something a bit more complex like a log cabin? Picking the right one can be a game-changer.
If I want to stay hidden and use what the surroundings provide, a debris hut works beautifully. On the other hand, if I’m planning for a longer stay, then I’ll invest the time into a more robust design, like a cabin, which offers better protection.
Understanding the mechanics of how each structure holds up is crucial. I like to sketch out my designs to visualize how they’ll come together and to see where adjustments might be needed. It’s a bit like a puzzle, and I’m all in for a challenge!
Building Techniques
As I start constructing, I remember that solid building techniques can make all the difference. Starting with a good base is essential; if your base is weak, your entire structure is gonna follow suit. I usually like to create a framework first—it keeps me grounded, literally! I fasten logs together with rope or strong vines as I go to ensure everything’s stable.
When it comes to walls and roofs, I always prefer layering materials. Just slapping branches together won’t do; I’m layering these bad boys like a lasagna! Ventilation is super important, too; without it, I could easily turn my shelter into a sauna.
Lastly, I make it a point to regularly step back and assess my work. Sometimes it’s easy to get lost in the building process, but a quick look can help me spot any potential flaws before they become a non-fixable situation.
Improving Shelter Longevity
Once the structure is built, the next step is making it last. I always add some waterproofing measures—like ensuring the roof has a slope to let water run off instead of pile up. Nobody wants a soggy sleeping bag, am I right?
I also keep an eye on any wear and tear as the seasons change, fixing or reinforcing sections as needed. It’s the little things that end up saving me from disaster later on down the road.
Plus, I like to add natural camouflage to my shelter to blend into the surroundings. That extra touch not only makes it feel cozier but also keeps me safe from passersby who might not have my best interests in mind.
Optimizing Comfort and Safety
Furnishing Your Shelter
Now that my shelter’s solid and ready, it’s time to think about comfort. I usually start by keeping things simple—just a bed made from leaves and some branches. It’s amazing what a good layer of foliage can do for a good night’s sleep!
A little organization goes a long way, too. Having designated spots for food, tools, and gear keeps my space clutter-free. Nobody likes tripping over stuff when they’re trying to find a single spoon.
If I’m going to be in my shelter for a while, I might even set up a small cooking area outside to keep the cooking smells away. Safety comes first, and managing fire responsibly is key in any survival situation.
Emergency Preparedness
Always being prepared for emergencies is a big part of making a long-term survival shelter. I always have a first aid kit handy, plus some fire-starting materials in an easy-to-access spot. You never know when you might need it!
In addition, I make it a habit to keep a whistle or signaling device around. If things go south, I want a way to alert people. Better to have a plan in place than scramble when the time comes.
Keeping a small stash of extra food doesn’t hurt either—having a backup can provide a safety net when life throws curveballs at you. It’s all about being smart and proactive, right?
Community and Communication
Finally, I can’t stress enough how valuable community can be during survival situations. Having a buddy system not only boosts morale but also provides double the resources in tough times.
Staying in touch is also important. I usually set up a way to communicate if I have a group around. Whether it’s through walkie-talkies or even signal fires, keeping everyone informed can be crucial, especially if plans change suddenly.
And never underestimate the power of shared skills! Everyone brings something unique. Whether it’s hunting, foraging, or fire-making, pooling our strengths can make a world of difference in our survival journey.
Frequently Asked Questions
What materials are best for building a survival shelter?
Natural materials like branches, leaves, and stones are ideal. They provide durable support and insulation, so seeking them out in your environment is key. The more local, the better!
How long will my shelter last?
The durability of your shelter often hinges on the materials used and the conditions it faces. Regular maintenance and waterproofing can extend its lifespan considerably—don’t forget your upkeep!
Can I stay in my shelter year-round?
It’s entirely possible, especially if you build with the right insulation and design. I’ve known folks who made it through all seasons with some smart improvements.
Is it safe to build a shelter alone?
While you can build a shelter by yourself, having a partner is highly recommended for safety reasons and shared tasks. Having a buddy by your side can also enhance both the building and survival experience!
What’s the most crucial aspect of a long-term survival shelter?
Ultimately, it’s about being safe and comfortable. A sound structure with proper insulation helps fend off the elements while ensuring your wellbeing is essential during any survival scenario.


