
Assessing Your Environment
Looking for Resources
When the situation gets tough, the first thing I do is take a real good look around me. Finding resources in your environment is key to building a solid shelter. I’d recommend checking out the area for any fallen branches, leaves, or even rocks that can help support your structure.
Don’t just scan the surface; dig a little deeper. Look under bushes or trees to see if you can find more usable items. Sometimes, it’s the stuff you wouldn’t normally consider that ends up being gold when you’re building an emergency shelter.
Get creative! If you’re stuck in a more urban environment, materials like cardboard and plastic sheeting could be a lifesaver. Try to think outside the box and use what you’ve got at hand.

Evaluating Shelter Locations
Now that we’ve scoured the environment for materials, let’s find the best spot for our shelter. Honestly, I learned the hard way that not every spot is created equal. Look for level ground—nobody wants to be sleeping on a slope, trust me!
Avoid areas near water sources to keep yourself safe from flooding. Instead, look for natural barriers like hills and rocks which can protect from the wind. This gives you a better chance of staying cozy, especially during colder nights.
Also, consider sunlight exposure. You don’t want to bake in the day nor freeze at night, so finding a balance is crucial. A shaded area is great during the day, but make sure it’s not too far from sunlight come morning!
Thank you for reading this post, don't forget to subscribe NOW for FREE!

Safety First
The last major factor when assessing your environment is safety. Always assess any potential hazards; is there a risk of falling branches or wild animals? I like to take a step back and really pay attention to the surroundings.
Make sure your chosen site is away from any unstable grounds, steep cliffs, or flood zones. Keep an eye and ear out for critters too. Sometimes, just a bit of awareness can save you from a wild encounter.
If you’re in an urban area, you’ll want to choose a less trafficked space where your presence won’t attract unwanted attention. Safety in solitude is key here!
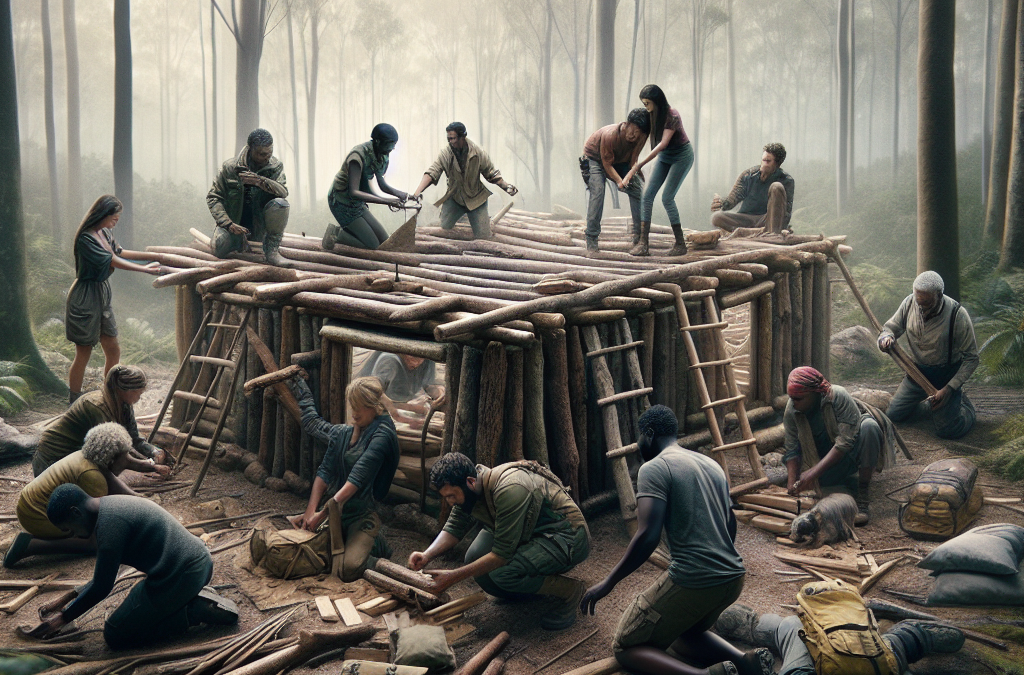
Creating Your Shelter Frame
Choosing the Right Materials
The frame is the backbone of your shelter, and honestly, it’s the part that needs the most thought. When I build, I usually look for sturdy branches that can hold up the weight and provide stability. Think of things like fallen trees or strong boughs that can form the structure.
Use thinner branches for cross beams and thicker ones for the main supports. This combination helps ensure that your shelter stands firm against anything the elements might throw at it.
And hey, don’t hesitate to use what you have on hand! If you’re feeling really inventive, even duct tape or rope can come in handy for securing parts together, so keep that in mind if you’re lucky enough to have those tools at your disposal.
Building the Frame
Once you’ve gathered your materials, it’s time to get that frame up! I prefer making a simple lean-to for quick setups. Lean one of your sturdy branches against a tree or a wall if you’re in an urban area; this saves a lot of hassle.
Next, make sure that your frame is stable. You can do this by wedging smaller branches at the base to give it extra support. It’s all about making sure whatever you build can withstand a bit of wind or rain.
For more elaborate shelters, you could form an A-frame using two larger sticks for the sides and cross beams to connect. Just remember: the simpler your design, the easier it’ll be to build with minimal tools.
Securing the Structure
Securing your structure is vital for its longevity. I like to use branches tied at critical junctions for extra strength. If you don’t have rope, some tightly woven vines or even long grass can help secure everything together.
Check your frame’s stability by giving it a bit of a shake. If it feels flimsy, it probably is. You might need to reinforce your points with extra twigs or stones until you’re comfortable.
The goal is to have a solid shelter that can withstand varying weather situations. Don’t skimp on this part—it’s way better to put in the effort now than to deal with a collapsing shelter later!
Building the Roof
Choosing the Right Type of Roof
The roof is your first defense against rain and snow, so picking the right materials is super important. I often use larger leaves, grasses, or even bark to create a makeshift roof that shelters me from the elements.
If you’ve got access to branches or a tarp, those can work wonders, too. Just remember, the goal here is to create a tight, water-resistant surface to keep you dry.
Don’t be afraid to layer your roofing materials. It’s similar to putting a heavy jacket on to stay warm. The more layers you have, the better protection you will get. Just make sure they’re well secured on top!
How to Install the Roof
When I lay out my roof, I always start from the top of the frame and work my way down. This helps ensure that rainwater rolls off instead of pooling on top. Use any spare branches to piece it all together and hold everything in place.
Consider the wind direction too! I once made the mistake of building my roof against the wind. Let’s just say it didn’t hold up well. Make sure your roof is slanted away from where the wind hits the most.
Once your roof structure is up, give it a good shake to see how secure everything feels. Add more materials if it doesn’t feel stable. You want to feel confident as you slip inside your new shelter.
Creating Insulation
Now that your roof is up, let’s talk insulation. Insulating your shelter is crucial for maintaining warmth, especially if you’re stuck out in colder conditions. I like to stuff leaves, moss, or any other natural materials I can find into the roof structure.
Pro Tip: The more stuff you pack in, the better! Start filling in gaps and spaces you find; you’ll be surprised how a little insulation can make a massive difference in comfort.
You can also add some insulation to your walls. If you have any extra foliage around, try to keep that breeze from creeping in by layering it around the edges. Every little bit helps when Mother Nature can be so unpredictable.
Final Touches
Making it Comfortable
Now it’s time to think about comfort! Building a shelter isn’t just about keeping dry; it’s also about making your temporary home feel cozy. I’ll often scavenge around for leaves to create a soft bedding layer—now, that beats lying on the ground any day!
Bring in some extra foliage to help you stay off the ground. Lying on a bed of leaves can help insulate your body from the cold earth, which is a game-changer on chilly nights.
And hey, don’t forget about personal touches! If you’ve got any trinkets or little comforts that can fit in there, throw them in. It’s your space, after all. Make it feel like home!
Setting Up a Fire
If it’s safe to do so, setting up a small fire nearby can really improve your shelter experience. A bit of warmth goes a long way in keeping spirits high, especially when times are tough. Just make sure it’s at a safe distance from your shelter. You don’t want any unnecessary fires going on!
I usually keep some stones around to act as a fire pit and to help shield the fire from the wind. Plus, it helps contain the flames and keep everything safe. Always keep water nearby just in case!
Believe me, a small fire is incredible for cooking or just warming up your cold hands after a long day of building—it’s a literal lifesaver.
Creating an Exit Strategy
Finally, always have an exit plan. This is something I stress every time I build a shelter. If you ever find yourself in an emergency, knowing how to get out quickly can be the difference between a rough night and a safe retreat.
Make sure your shelter entry or exit point is clear and easy to access. I often position my entry away from the prevailing winds and against any threats from wild animals.
Check your surroundings again to ensure your escape routes are safe. Whenever you’re unsure, plan a quick exit strategy that you can remember easily, as it gives you peace of mind.
FAQs
What materials are best for building an emergency shelter?
Look for branches, leaves, rocks, and anything that can provide structure and insulation. Even cardboard works in urban settings!
How long does it take to build a basic shelter?
Depending on your skills and conditions, a basic shelter can take anywhere from a few minutes to a couple of hours. Stay focused!
Is it safe to build a shelter in urban areas?
Yes, just make sure to avoid high-traffic areas and be aware of your surroundings to stay safe and undisturbed.
How can I insulate my shelter effectively?
Pile up leaves, moss, and any natural materials to fill gaps in your shelter. The more layers, the better insulation you’ll have!
What should I do if my shelter collapses?
Stay calm and build a new one if possible. Look for a safer location and gather materials to-construct a sturdier shelter!


