
Choosing the Right Materials
Gathering Supplies
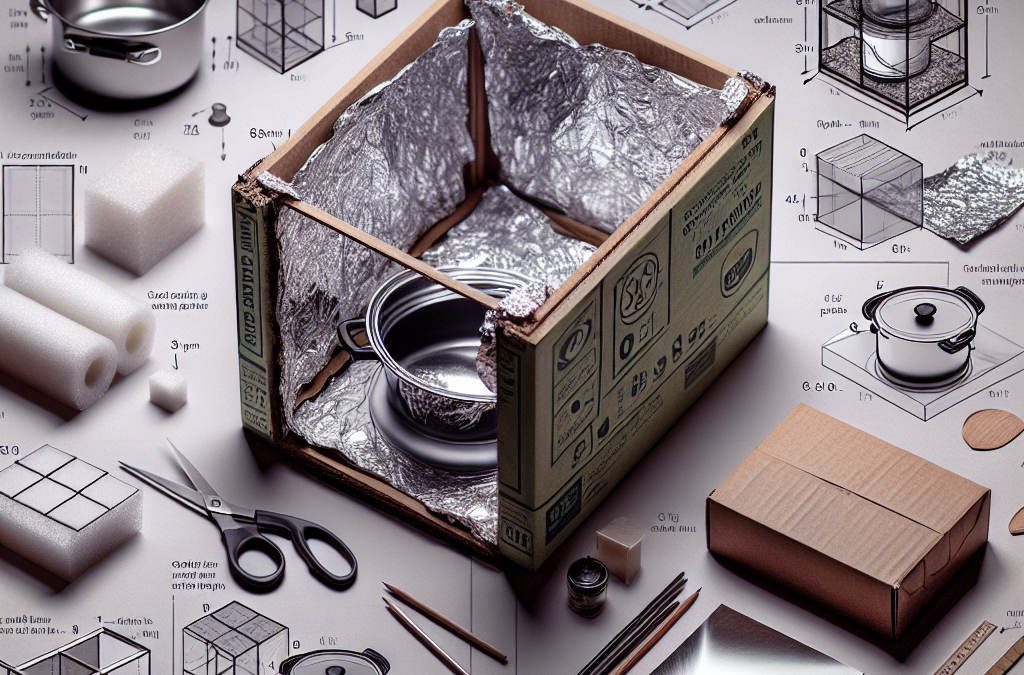
So, you want to make a solar oven? Great choice! Before diving into the construction, I found it’s crucial to gather all the materials you’ll need. Trust me, nothing’s worse than getting halfway through and realizing you’re missing something key. You’ll need a pizza box (this is my go-to!), aluminum foil, plastic wrap, and black construction paper.
Don’t worry, you can usually find these materials around the house or at a local store. Even check out thrift stores or online marketplaces for second-hand goods. I’ve scored some amazing stuff that way! And remember, the more reflective your foil, the more heat you can generate—this little detail can make a huge difference.
Getting all your supplies in one swoop not only saves time but also keeps the momentum going, which is so important during any DIY project. Plus, it gives you a chance to visualize how everything will come together!

Understanding Functionality
It’s super important to understand what each of these materials brings to the table. For instance, the pizza box is not just for pizza; it serves as the chamber to trap heat. The aluminum foil reflects sunlight into the box, while the black paper absorbs the heat—the science can feel a bit like magic!
When I first started, I spent some time just thinking about how the sun’s rays would travel through the plastic and heat what was inside. It’s fascinating! The clearer your understanding of your materials’ roles, the better your solar oven’s performance will be.
And let’s not forget: this is also a fun way to talk about sustainability and energy. It’s a conversation starter, especially if you have kids or friends who are curious about renewable energy. Share what you learn as you build—I promise it will draw more people into your DIY adventures!
Thank you for reading this post, don't forget to subscribe NOW for FREE!

Preparation is Key
Now that you’ve got your materials, it’s smart to prepare your workspace. I mean, nobody enjoys a chaotic environment when they’re trying to create something cool, right? Clean off that table or workspace and lay everything out so you can see what you’ve got. Trust me, it makes a world of difference.
Also, I like to have a plan. Sketch it out! It doesn’t have to be fancy, just a rough idea of how you’re going to assemble your solar oven. This visual map helps me stay focused and makes it easier to catch any steps I might have otherwise overlooked.
Remember, even when things don’t go perfectly, they can still turn out awesome. Preparing means you can respond to any hiccups with grace and make them part of the fun rather than frustration!
Building the Solar Oven
Constructing the Box
Alright, let’s get building! I love this part—there’s something satisfying about seeing your creation take shape. Start by cutting a flap in the lid of your pizza box. This is what you’ll use to direct sunlight into the oven. First cut along three sides, leaving an inch or so attached to create your flap.
Next, you want to cover the inside of that flap with aluminum foil. This is what reflects the sunlight into your solar oven. I like to make sure it’s shiny and smooth, as that helps with maximum reflectivity. The shinier, the better!
Once that’s done, grab your black paper and line the bottom of the pizza box with it. The black color will trap the heat much more effectively. It’s intriguing how color theory plays into this; it makes you think about the world from a different angle.
Sealing for Efficiency
Next up: sealing it all in! Take plastic wrap and cover the opening of the pizza box. This creates an insulating layer which locks in the heat. I usually add a couple of layers to ensure it holds up against the sun’s rays. It’s like making a cozy blanket for your solar oven!
A little pro tip: make sure there are no gaps in the plastic wrap; any holes can let that precious sunlight escape. You want this baby to be as airtight as possible while still allowing the heat to enter. This is where you can get creative—tape or glue down the edges securely!
It’s exhilarating to see a simple pizza box transform into something new and functional. Plus, sealing it well will make your solar oven more efficient, so you’ll be one step closer to cooking with it!
Setting Up for Success
Your solar oven is really coming together now! The last part of building is about positioning it correctly. Place it outside in a sunny spot where it can catch direct sunlight. I typically keep it facing south if I can. The orientation can really make a difference in how effective your oven is.
Adjusting the flap to catch the maximum sunlight is essential. Play around with different angles until you find the sweet spot. The more sunlight you capture, the hotter your oven will get!
And remember, patience is key here. You won’t be cooking things in a matter of minutes like a microwave. But isn’t that part of the charm? Taking your time with the cooking process can bring a sense of calm and mindfulness that’s hard to find in our fast-paced lives.
Cooking with Your Solar Oven
Choosing What to Cook
Okay, now for the fun part—cooking! The options are endless, but I recommend starting with simpler things. S’mores, mini pizzas, or baked cookies are perfect beginner projects. They’re easy, fun, and who doesn’t love a good s’more, right?
Make sure whatever you choose is quick to cook. You want to give your solar oven a good test run without feeling overwhelmed. Plus, the kids love being involved, and there’s nothing like a fun cooking session under the sun to make memories!
And if you feel adventurous, try roasting veggies! It’s an eye-opening experience to taste something you’ve cooked with the sun’s energy. Bonus points for flavor and nutrition!
Monitoring the Temperature
Once your food is inside, it’s important to keep an eye on the temperature. It can be tricky, as you won’t have a conventional oven gauge to rely on. I like to use a simple regular thermometer placed in the oven—it gives me peace of mind that I’m cooking things at the right temperature.
When I first used my solar oven, I set a timer to check on everything regularly. There’s something rewarding about peeking into the box and seeing deliciousness develop from pure sunlight!
Estimating cooking times can take practice, but it’s part of the whole DIY experience. And hey, if it doesn’t turn out perfect the first time—that’s totally cool! Learn, adapt, and enjoy the process!
Enjoying Your Creation
Finally, after the waiting game, it’s time to savor what you’ve created. Remove your food carefully—it can be hot! There’s something special about realizing you cooked with nothing but the sun’s rays; it’s like harnessing a superpower.
Set the table (or a picnic blanket) outside and share the moment with friends or family. I love hearing everyone’s reactions when they taste something made with the sun. It’s pure joy and often leads to conversations about sustainability and the environment!
Don’t forget to take some pictures—after all, you’ll want to remember your solar cooking triumph and inspire others to try it out for themselves!
Conclusion and FAQs
FAQs
1. How long does it take to cook food in a solar oven?
Cooking times can vary quite a bit depending on the food and the sun’s intensity. Generally, expect to wait anywhere from 30 minutes to several hours. Just be patient and enjoy the process!
2. Can I use a solar oven on cloudy days?
While sunny days yield the best results, you can still cook on cloudy days. It just takes longer since the rays are less direct. It’s a bit like camping out—embrace the change!
3. What type of food works best in a solar oven?
Start with easy recipes! S’mores, nachos, or vegetables are excellent beginnings. They’re fun and satisfying, and you can build your confidence for more elaborate dishes as you go!
4. Is it safe to leave the solar oven unattended?
It’s best not to leave it completely unattended. If you’re cooking for a longer period, check on it every now and then—it keeps the experience fun and lets you monitor how things are cooking!
5. How can I improve the heat efficiency of my solar oven?
Make sure you have no gaps in your insulating layers, and adjust your solar oven to catch the sunlight at the right angle. Keeping the inside clean and shiny will also help maximize heat absorption!


