
Hey there, fellow adventurers! If you’ve ever found yourself wandering in the great outdoors, you know how crucial navigation can be. I’m here to share my personal take on how to use a map and compass effectively. This isn’t just theory—I’ve learned this stuff through plenty of trial and error out on the trails. So grab your gear, and let’s dive into it!
Understanding Your Map
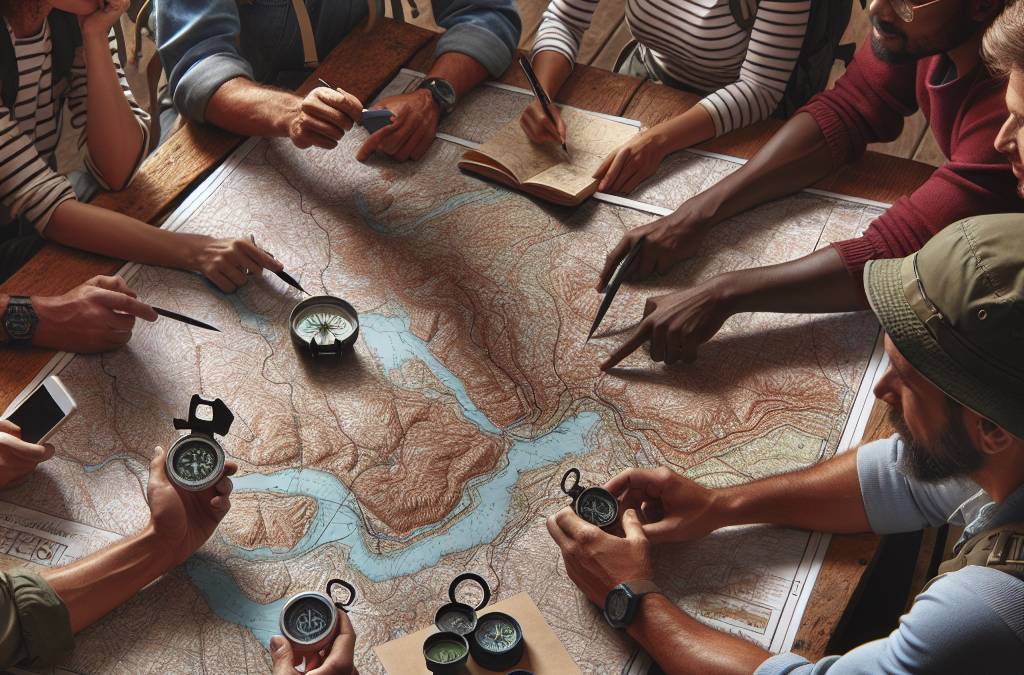
Types of Maps
When it comes to maps, it’s like a candy shop—you’ve got plenty of options! There are topographic maps, which show elevation changes, and road maps, which are more about the streets and highways. I personally lean towards the topographic maps when I’m trekking, as they can give you a lot of insight into what lies ahead—like hills, rivers, and valleys.
Another favorite of mine is the trail map. These are specific to hiking trails and often include important information, like distances, estimated times, and difficulty levels. It’s just super helpful to know what you’re getting into when you’re heading out!

Finally, don’t underestimate the digital maps available on your phone. While I always carry a physical map for backup, tech can really help me plan routes before I hit the trails.
Map Symbols and Legends
Next up, let’s chat symbols. Every map has a legend, which is basically a key that explains what those little icons mean. Trust me; getting familiar with them will save you some headaches later! From marking trails to indicating water sources, these symbols are your best friends when navigating.
It’s a bit like learning a new language—at first, it feels overwhelming, but with time, it becomes second nature. Make sure to spend some time studying the legend and get to know the symbols; it’ll pay off when you’re out there.
Thank you for reading this post, don't forget to subscribe NOW for FREE!

I often find that while I’m studying the map, it also helps me visualize my route, making the journey feel more immersive and exciting. So, don’t rush this part!
Plotting Your Route
The most thrilling part, in my opinion, is plotting your route. It’s like creating a mini-adventure! Once you have an idea of where you want to go, use a pencil to mark your waypoints onto the map. I love to do this before I head out so I can have a clear picture when I’m in the field.
But don’t forget to factor in your pace, the terrain, and any potential obstacles. These elements can impact your travel time more than you might think! I’ve learned to allow for a little extra time during unexpected situations—it’s all part of the adventure.
Lastly, remember to set realistic expectations. Just because you can see a straight line on the map doesn’t mean it’ll be a walk in the park!
Using Your Compass
Parts of a Compass
Just like any tool, understanding your compass is key. Familiarize yourself with its parts—the needle, the baseplate, and the bezel. The needle always points north, and getting to know how it interacts with your map is crucial.
For instance, the baseplate often has a ruler on it, which can help you measure distances. Meanwhile, the bezel is rotational, allowing you to set bearings. I’ve found that by playing around with my compass, it becomes a lot less intimidating!
So take a few moments to hold your compass in your hand, spin it, and practice. A bit of hands-on experience will go a long way in building your confidence before hitting the trails.
Taking Bearings
Okay, now we’re getting into some nitty-gritty stuff! Taking bearings with your compass is like getting a cheat code for navigation. To do this, hold the compass flat in your palm and rotate your body until the needle lines up with the north marking on the compass. Voilà, that’s your bearing!
Once you have your bearing, you can align it with your map. Find a feature on the map you can see in the real world and use that landmark to stay on course. Honestly, it’s super satisfying, like putting together a puzzle.
And remember, practicing this skill will help you a ton when you’re out in nature. I can’t stress enough how much confidence it builds to know you’re heading in the right direction!
Following a Bearing
Now that you’ve taken a bearing, how do you follow it? Picture this: You’re on a trail with beautiful scenery but you need to steer in a specific direction. It’s easy! Focus on a fixed point in the distance that aligns with your bearing and walk towards it.
But here’s a friendly reminder—keep checking your map and compass so you don’t veer off course. I’ve had my moments where I got a bit too engrossed in the views and strayed off! It’s all part of the adventure, but constant checking helps keep your path clear.
As you move, make sure to adjust as needed. If there’s a big obstacle, like a lake or steep hill, don’t hesitate to recalculate your bearing. Flexibility is a big part of navigation!
Improving Your Skills
Practice, Practice, Practice
Just like any skill, the more you practice using your map and compass, the better you get. I make it a point to go on mini-adventures to test my skills. Whether it’s in the local park or the wild mountains, I always have my map and compass on hand.
Even just setting out to find specific landmarks can help. Each outing reinforces your skills and teaches you new tricks. It’s all about building muscle memory!
And hey, do it with friends! It’s a shared learning experience that can make it even more fun. Plus, they might have some cool tips to share!
Joining Navigation Groups
Another great way to improve is by joining navigation or hiking groups. Sharing experiences with like-minded folks is super valuable. Not only do you get to learn from more experienced navigators, but you also get to hear stories that make your own journeys feel more alive.
From workshops to group hikes, there are plenty of opportunities to sharpen your skills. I’ve made some amazing friends through these groups, and it definitely adds to the adventure!
Plus, discussing techniques and experiences opens up a world of tips that can enhance your navigation skills in ways you never expected!
Reflecting on Your Adventures
Lastly, don’t forget to reflect on your adventures! After each trip, I take some time to jot down what went well and what didn’t. Reflecting on these experiences really helps me learn from my mistakes and celebrate my wins.
Did I miss a bearing? What would I do differently next time? This reflection has helped me grow so much as a navigator, and I highly recommend it!
So grab your journal and start keeping track—you’ll thank yourself later!
FAQ
1. Do I really need a physical map if I have a smartphone?
Yes! Technology can fail, especially in remote areas. Always carry a physical map as a backup.
2. What if my compass isn’t pointing north?
Make sure you’re holding it flat and away from metal objects. Sometimes magnetic interference can mess with your compass. If it still doesn’t work, try another compass.
3. How do I stay oriented on a longer trek?
Regularly check your map and compass, and look for landmarks as you travel—they’re great indicators of your position!
4. Is it difficult to learn navigation skills?
It might feel daunting at first, but with practice, it becomes intuitive! Just take your time and enjoy the learning process.
5. Can I use a compass at night?
Absolutely! Just make sure you have a light source to see your compass and map. Night navigation can be magical!
So there you have it! With a bit of practice and patience, you can become confident in using a map and compass for navigation. Get out there, explore, and most importantly, have fun!


