by Preparation | Apr 20, 2025 | Preparedness
Assess Your Home’s Vulnerability
Inspect the Exterior
First things first, I always start with a thorough inspection of the home’s exterior. Look for any signs of wear and tear—roof shingles that are curling up, gaps in the siding, or peeling paint. Trust me, a little bit of maintenance can make a huge difference when a storm rolls in. I remember a friend neglecting this and having to deal with a massive leak during a hurricane. Not fun!
Next, don’t forget about your windows. Evaluate whether they’re strong enough to withstand flying debris. I’ve opted for storm shutters in my home, and let me tell you, it gives me peace of mind. If budget is a concern, there are DIY options available that can still provide protection.
Finally, check your landscaping. This is something I often overlook until it’s too late. Trim back any trees or shrubs that might become projectiles in high winds. I had to deal with a close call when a neighbor’s branch flew through my window a couple of seasons ago. You don’t want that to be you!
Secure Outdoor Items
Bring in the Loose Stuff
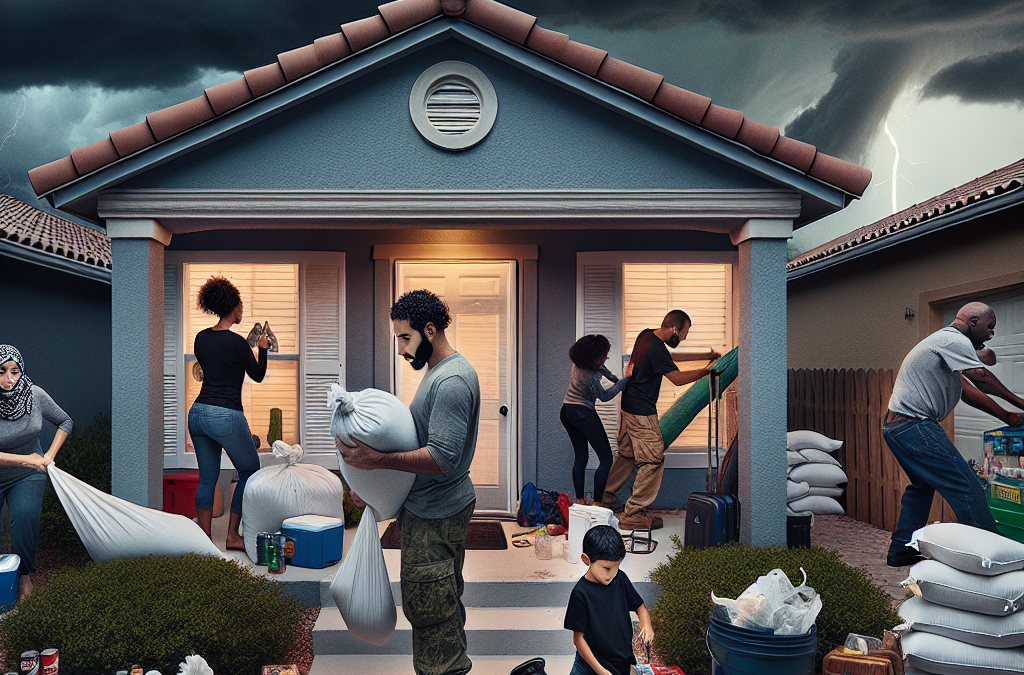
When hurricane season rolls around, I’ve learned that anything that isn’t tied down can turn into a projectile! I always gather outdoor furniture, plants, and decor and bring them inside or secure them in a safe place. I can’t tell you how many times I’ve seen patios transformed into treasure hunts for flying lawn chairs.
Even smaller items like garden tools should be stashed away. A few years back, I overlooked my kids’ toys, and as the winds picked up, it was a wild game of dodge the flying soccer ball. Lesson learned! Keep everything tidy and don’t forget to check the patio—a quick sweep clears potential hazards.
For anything that can’t be moved, make sure to anchor it down. Use weights or tie-downs to secure larger items. Your flower pots or grill should be safer against the elements that way. Trust me, you’ll thank yourself later when you don’t have to replace every single thing post-hurricane.
Stock Up on Supplies
Create a Hurricane Kit
I can’t stress enough how important it is to have an emergency supply kit ready before hurricane season hits. My hurricane kit includes non-perishable food, plenty of water, flashlights, batteries, and a first aid kit. Don’t wait until the last minute—trust me, the grocery store shelves might resemble a storm aftermath by then!
Don’t forget personal essentials too! Items like medications, pet supplies, and important documents should all be in one accessible place. I learned this the hard way when I had to scramble around looking for my kid’s meds during a storm. Now, everything is neatly packed and easy to find.
During the week leading up to the season, I like to take inventory and make sure I have everything. It’s a simple check that can save a lot of hassle. If you’re missing anything, there’s still time to grab it while the shelves are stocked!
Plan Your Evacuation Routes
Know Your Options
Having an evacuation plan is honestly one of the best things I’ve done for my family’s safety. I’ve gone through the experience of leaving during a storm, and let me tell you, knowing your routes ahead of time reduces a lot of stress. Familiarize yourself with the local roads and potential traffic issues.
Share your plan with everyone in your household! It’s crucial that everyone knows where to go and how to get there. I sit down with my family each year to go over the options and make sure we’re all on the same page. Even the kids feel reassured when they know what the plan is.
Additionally, it’s smart to have backups. I always prepare alternative routes just in case of road closures or detours. It gives me peace of mind, and no one wants to be stuck in flooding or traffic when time is of the essence!
Stay Informed and Updated
Follow the Weather Updates
Lastly, staying informed about weather conditions is key. I can’t stress this enough, as things can change quickly during hurricane season. I always have a reliable weather app on my phone that pushes notifications. It’s crucial—I once got caught off guard without realizing a storm was headed my way!
In addition to apps, listen to local news stations or follow trusted meteorologists on social media for updates. They often provide details specific to our area that national networks may skip. I’ve found local updates to be extremely helpful in making timely decisions.
Also, consider a NOAA weather radio for uninterrupted alerts. It’s a safety net that can keep you informed, even if the power goes out. I have one in my home, and it’s been an invaluable resource when storms approach. Knowledge is power, especially in hurricane season!
Frequently Asked Questions
1. How can I assess the vulnerability of my home?
Start by inspecting your home’s exterior for any weaknesses, check the condition of windows and doors, and evaluate your landscaping to minimize potential projectiles. Regular maintenance is key!
2. What outdoor items should I secure before a hurricane?
Bring in loose furniture, secure garden tools, and make sure any decor is either brought inside or tied down. Anything that can fly in high winds should be stored safely or anchored.
3. What items should I include in my hurricane kit?
Your hurricane kit should include non-perishable food, water, flashlights, batteries, a first aid kit, and any personal medications. Don’t forget items for pets or important documents as well!
4. How should I plan an evacuation route?
Know your local evacuation routes and communicate them to everyone in your household. It’s also wise to have backup routes in mind. Discuss the plan together to ensure everyone is prepared.
5. What’s the best way to stay informed about hurricanes?
Utilize a reliable weather app on your phone, follow local news channels, and consider investing in a NOAA weather radio for real-time updates, especially during power outages.

by Preparation | Apr 20, 2025 | Preparedness
Assess the Situation
Identify the Problem
When something goes wrong in your house, the first step is to figure out exactly what the issue is. Is it a leak? A power outage? A busted window? I’ve learned the hard way that going in blind can cause more harm than good. You’ve gotta take a deep breath, walk around, and thoroughly inspect your space. Get up close and personal with those issues!
Look for any visible signs that can clue you into what’s happening. For leaks, is there water pooling somewhere? If it’s electrical, are there flickering lights? Knowing what you’re dealing with helps a ton in deciding what tools and supplies you’ll need. Trust me, just taking those few extra minutes to investigate saves you a world of headaches later on.
After you think you’ve found the issue, don’t be too quick to jump to conclusions. Get a second opinion if possible, or just give it a moment of thought. Sometimes, what seems like a huge problem is just a simple fix waiting to be discovered!
Gather Your Tools
Essentials You Need
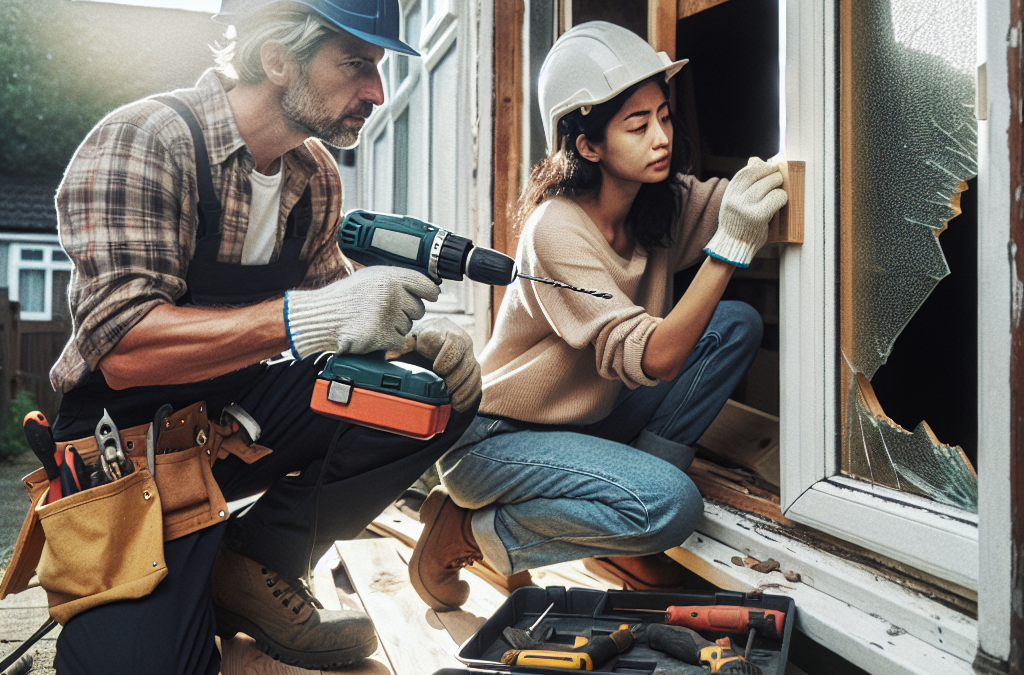
Once you’ve assessed what’s wrong, it’s time to gear up! It seems silly, but having the right tools for the job is a game changer. I once spent an afternoon looking for duct tape and a hammer when all I had to do was grab my tool kit! Think of what you might need: a wrench, screwdriver, tape, maybe even a mop depending on the crisis.
Consider the specific type of repair you’re facing. Different situations require different equipment. For plumbing issues, for example, a plunger and some sealant can do wonders. For drywall repairs, you’ll nod appreciatively having a putty knife around. Always keep a small emergency tool kit handy—it’s worth its weight in gold!
Finally, don’t forget to include safety gear, like gloves and goggles. You never know when you might need them. Protecting yourself while you tackle repairs is just as important as fixing the problem itself!
Make Temporary Fixes
Quick Solutions to Hold You Over
Sometimes, the urgency of a repair means you’ve gotta think on your feet. If it’s a leak, grabbing a bucket to catch the water can be a lifesaver until you can get a plumber involved. I remember when my roof started leaking during a storm; I discovered that a simple tarp can work wonders as a temporary cover. Who knew, right?
For electrical issues, if you lose power or have a broken circuit, knowing how to reset the circuit breaker can buy you some time. Don’t just throw in the towel on complex fixes; often a temporary repair can last until you can get a pro involved or figure out a more permanent solution.
Just remember, these fixes are temporary! Make sure to keep track of what you’ve done, so when it comes time for the real fix, you aren’t starting from square one. Jotting things down can prevent you from having a mini panic attack later!
Document the Damage
Keeping Records
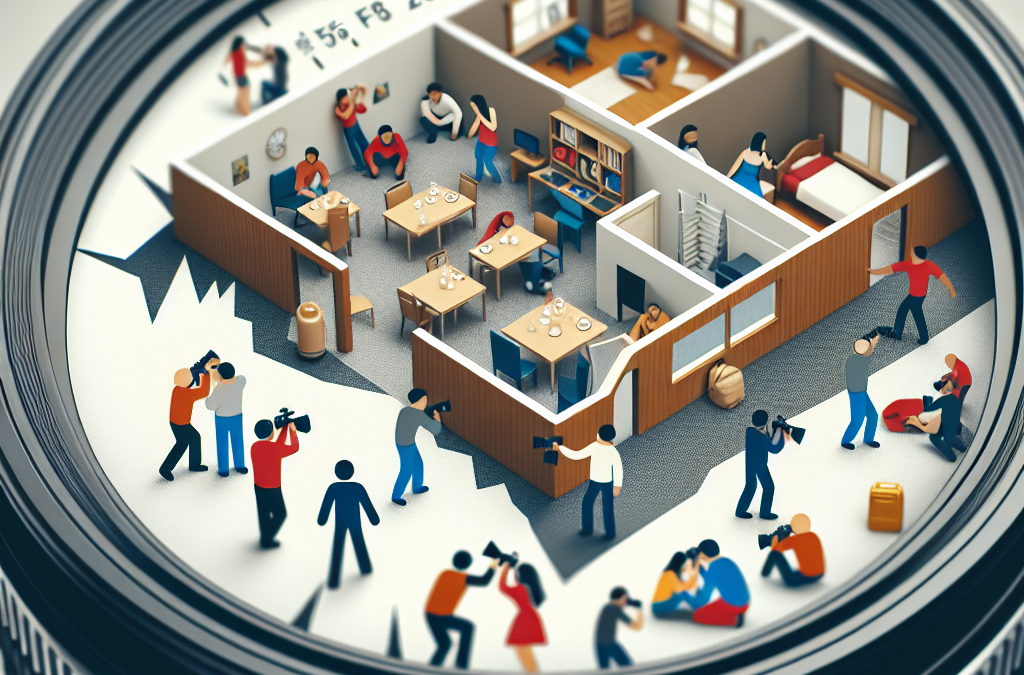
Once you’ve started to stabilize the issue, it’s time to document everything. Trust me, you’ll appreciate this later! Taking photos is super handy for insurance claims or when you’re explaining the situation to a contractor. A simple snapshot can save you a lot of hassle down the road.
Write down what happened, when it happened, and what you’ve already done to remedy the situation. Having a clear history not only helps in future repairs but can also provide insights into recurring problems that may need a more permanent solution. I’ve found that compiling this info has become invaluable for my home maintenance routine!
Also, don’t forget to keep records of any receipts if you buy materials or hire someone to help. You’ll be thankful that you took that extra step when it comes time for taxes or insurance follow-ups!
Seek Professional Help
When to Call in the Experts
Here’s the truth: sometimes, it’s just better to let the pros handle it. I hate to admit it, but I’ve definitely watched a DIY project spiral out of control and knew I should have called someone in. Knowing your limits is key. If the issue feels beyond your skill set or is too dangerous, don’t hesitate! Better safe than sorry.
When you do call a professional, make sure to have your documentation handy. The more information you can provide about the issue, the better they can assist you. Have a list of your temporary fixes and any symptoms you’ve noticed—this little nugget of info can help them pinpoint the root of the problem much quicker!
Lastly, take the time to research potential contractors. Read reviews, ask colleagues for recommendations, and get multiple quotes. When you’re spending your hard-earned cash, you want to know that you’re hiring someone trustworthy and reliable. Remember: good help is worth the investment!
Frequently Asked Questions
1. What should I do first when I notice a problem?
The first thing you want to do is assess the situation. Identify exactly what’s wrong and evaluate the potential risks involved.
2. What tools do I need for emergency repairs?
Your basic tool kit should include a hammer, screwdriver set, pliers, duct tape, and some other commonly used supplies. Always add to your kit based on the types of repairs you encounter!
3. How do I make a temporary repair?
A temporary repair is all about quick solutions! Use buckets for leaks, tarps for roof issues, or reset circuit breakers for electrical problems. Just remember, these are stopgap measures until you can make a permanent fix.
4. Why is documentation important?
Documenting the damage helps in future repairs, assists with insurance claims, and keeps a record of what has been done. It’s all about being organized for future needs!
5. When should I decide to hire a professional?
If the repair is beyond your skills, feels dangerous, or if you’re worried about potential damage, it’s best to call in the experts. Don’t risk making the situation worse!
by Preparation | Apr 20, 2025 | Preparedness
Prepare Your Home and Surroundings
Recognizing Vulnerabilities
One of the first things I did was check out my home for weak spots. It’s crazy how many things can become dangerous during an earthquake—think heavy shelves, mirrors, and those cute but precariously stacked decorative items. I recommend getting down on your hands and knees and looking for anything that might topple over. This little exercise will give you a fresh perspective on your space!
Also, take a peek outside. If you live near large trees or buildings that are leaning a bit, consider how they could impact your safety. It’s all about understanding your environment and making smart adjustments. Plus, it’ll ease your mind knowing you’ve minimized risks!
Lastly, don’t forget to check your emergency supplies. Make sure you have essentials like food, water, and first-aid kits handy. I like to keep mine in a designated spot so I don’t have to search at crunch time. It’s all about being proactive!
Practice the “Drop, Cover, and Hold On” Technique
The Importance of Immediate Response
When an earthquake strikes, it can be hard to think straight. That’s why practicing the “Drop, Cover, and Hold On” technique is crucial. I personally practiced this with my family a few times, and trust me, it helps embed that immediate response in your brain.
Dropping to the ground is all about protecting yourself from falling debris. Covering your head and neck with your arms is next—imagine there’s heavy furniture above you; you want to shield yourself! Finally, holding on until the shaking stops ensures you’re prepared to move if needed.
Even practicing this method in different locations can be beneficial. Whether you’re at home, in a restaurant, or at a friend’s place, try running through in your head where you’ll drop and cover. You’ll feel less panicked knowing you have a solid plan.
Communication Plans
Setting Up a Contact List
Another essential skill is having a solid communication plan. I remember chatting with my family about our go-to contacts in case we get separated during an earthquake. It sounds simple, but knowing who to reach out to can relieve a lot of stress!
Create a contact list, and consider using text messages instead of calls during emergencies since they can get jammed. I also recommend designating a meeting spot where everyone can go if the chaos unfolds. That way, you know you’ll find each other without racing through the streets!
Make sure you have your phones charged and even consider getting a portable charger. When things get tight, a working phone can be your lifeline to loved ones and emergency services. I never go anywhere without mine fully charged anymore!
Evaluate Your Emergency Kits
What to Include
This is where things get practical. I’ve spent some time ensuring that my emergency kit has everything we’d need—food, water, and first aid are just the basics. Make sure to include enough non-perishable food to last at least three days. I prefer items that don’t need cooking, like energy bars and canned goods, because you never know what might happen!
Don’t forget about personal items like medications and glasses. Those little things can make a big difference in your comfort! I keep a small checklist in my kit so I can quickly see if anything needs replenishing.
Lastly, add any important documents or valuables in a waterproof container. It’s heartbreaking to think about losing family photos or important papers. Keeping these handy makes sure you’re prepared for whatever life throws your way!
Stay Informed About Earthquake Activity
Use Technology to Your Advantage
Staying informed is easier than ever, thanks to apps and local news. I’ve downloaded an earthquake app that notifies me of any seismic activity in my area. It’s a game changer! Knowing about tremors before they happen allows me to prepare and keep calm.
Connect with local emergency management agencies, too. They provide up-to-date information and resources, and they can be a reliable source during emergencies. Following their social media accounts or subscribing to newsletters can keep you in the loop.
Lastly, engage with your community. Joining local emergency preparedness meetings can offer more insights, plus it’s a great way to connect with neighbors and develop strategies together. You’re not alone in this; it’s always better when we tackle it as a team!
Frequently Asked Questions
What should I do immediately during an earthquake?
Drop, Cover, and Hold On! Get low to the ground, cover your head and neck, and hold on until the shaking stops.
How can I prepare my home for earthquakes?
Identify and secure heavy items, and make sure you have emergency supplies readily available in a designated spot.
Why is communication planning important during earthquakes?
During an earthquake, things can get chaotic. Having a contact list and designated meeting spot ensures you can find your loved ones safely.
What should I include in my emergency kit?
Include non-perishable food, water, first-aid supplies, medications, important documents, and personal items in your kit.
How do I stay informed about earthquakes?
Utilize earthquake apps, follow local emergency management agencies, and engage with your community for updates and resources.
by Preparation | Apr 20, 2025 | Preparedness
Choosing Essential Supplies
Assessing Your Needs
When preparing a first aid kit for hiking, it really helps to think about the specific conditions and challenges you might face in the great outdoors. Personally, I always consider the type of terrain, the length of the hike, and the level of risk involved. If I’m hiking a challenging route, I’ll make sure to pack some extra supplies compared to an easy day hike.
You also want to think about your individual health needs. Do you have any allergies or medical conditions that could arise during a hike? It’s smart to pack medications or any necessary equipment that you may need. I always take my allergy meds—better safe than sorry!
Remember, it’s all about striking a balance. You don’t want to overpack and weigh yourself down, but you definitely don’t want to be without something crucial when you need it. Taking the time to assess your needs will really help when choosing supplies for your kit.
Basic First Aid Items
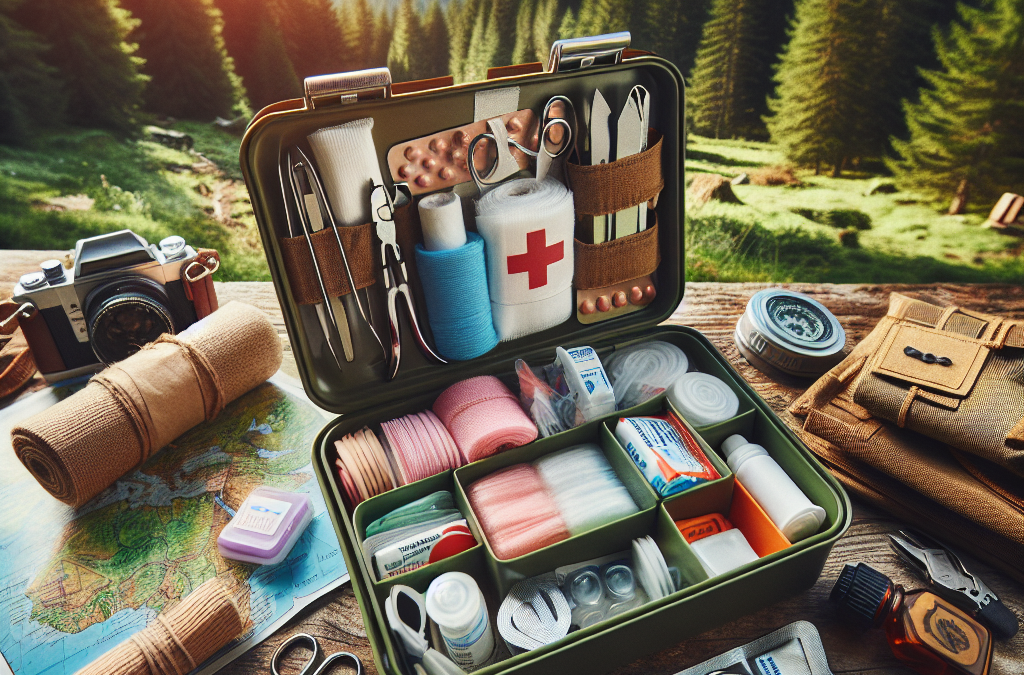
Once I know what I need, I start gathering basic first aid items. This includes items like adhesive bandages, gauze pads, antiseptic wipes, and sports tape. These items are small and lightweight, yet they can make a huge difference if someone gets a cut or scrape.
I can’t stress enough how handy a good pair of scissors can be; they’re useful for cutting tape or gauze. In my own kit, I also keep a pair of tweezers for splinters or ticks, which are unfortunately a common nuisance during hikes.
Lastly, don’t forget about pain relief! I usually pack some ibuprofen or acetaminophen because you never know when a headache or muscle ache might hit while enjoying nature.
Upgrades and Extras
Once the basics are sorted, I like to consider upgrades that could be beneficial for more serious situations. A compact emergency blanket can be a lifesaver if someone experiences hypothermia. These blankets are lightweight and fold up neatly, making them easy to include in a compact kit.
I also like to pack a small tube of burn cream. Trust me, you might not think you’ll need it during your hike, but if you’re near a campfire or get sunburned, you’ll be glad you packed it!
Another upgrade I found valuable is a CPR face shield. Accidents happen, and being prepared is crucial. Having the tools needed to perform CPR can really help if the unexpected occurs.
Size and Weight Considerations
Choosing the Right Container
The next thing I consider is the container for my kit. I want something durable yet manageable. A small, waterproof bag is my go-to because it protects my supplies from the elements and ensures everything stays organized. You can find various sizes, so I always opt for one that holds all the essentials without being bulky.
Keep in mind that if you’re hiking for an extended period, a more substantial container might limit what you can carry. Finding that perfect size means you can easily shove it in your backpack without worrying about it taking up too much space.
After all, the last thing you want is a rigid box that weighs you down. Flexibility and durability should be your top priorities when selecting a container for your first aid kit!
Minimizing Weight
Speaking of weight, the next step is minimizing it. One tip I’ve found helpful is to decant larger medicine bottles into smaller, labeled containers. You don’t need a whole bottle of painkillers for a day hike—just a few tablets will do!
Also, rather than packing a full-sized roll of gauze, I cut it down into smaller strips. This not only saves space but also lightens the load on my back. I keep a small zip-top bag to hold these smaller pieces as it’s compact and easy to access.
Remember, as hikers, we need to be prepared but also need to lighten our packs. Each ounce counts when you’re on the go!
Organizing Your Kit
Finally, organization is key for a compact first aid kit. I like to use small pouches within my container to separate items – for example, one for bandages, another for medications, and so on. This way, I’m not digging around looking for what I need when time is of the essence.
You could even go a step further and label each pouch. I just use a simple label maker, but you can use tape and a marker if that’s what you have on hand.
Being organized not only saves time but also reduces stress; you’ll be so grateful when you know exactly where everything is located in a pinch!
Regular Maintenance
Checking Expiry Dates
It’s easy to pack a first aid kit and forget about it, but I make it a habit to check expiry dates regularly. Medications can lose their effectiveness over time, and the last thing you want is to use expired supplies in an emergency!
I usually schedule a check every few months; it’s a simple step that can save lives. During this check, I also take the opportunity to reassess my needs. Are there new risks with the seasons changing, like more bug bites in summer or increased chances of getting sick in the colder months?
Keeping my supplies fresh and relevant ensures I’m always prepared for whatever nature throws at me. Trust me, it’s worth taking the time for these quick assessments!
Restocking Supplies
After checking expiry dates, I take stock of what needs restocking and replace any used items. Sometimes, I find that I’ve been using more of a certain item—like antiseptic wipes during bug bites—so I’ll increase the quantity I pack for next time.
I have a list I keep that outlines everything I want in my first aid kit. Each time I go on a hike, I tick it off after I’ve checked it. This simple practice makes sure I’m always prepared for the next adventure!
Plus, restocking isn’t just about keeping it full; it’s also about keeping it relevant. As I gain more experience, I sometimes add new items that I find helpful and remove what I don’t need.
Practicing with Your Kit
Finally, regular maintenance isn’t just about the physical supplies; it’s also vital to practice using your first aid kit. I’ve found that knowing how to use what you have is just as important as having it. I often take a First Aid/CPR course not just to stay certified, but also to refresh myself on how to respond in emergencies.
It’s a good idea to run through a mock scenario with friends or family. Practice makes perfect! Having everyone familiar with the contents of the kit and how to use them adds an extra layer of preparedness on group hikes.
So, grab your kit and have a little fun while making sure everyone knows the ropes. It’s all about staying safe while enjoying nature!
Frequently Asked Questions
What items should be included in a compact first aid kit for hiking?
A compact first aid kit should include adhesive bandages, antiseptic wipes, gauze pads, pain relievers, scissors, tweezers, and any necessary personal medications. Always assess your individual needs based on the length of the hike and potential risks involved.
How can I keep my first aid kit lightweight?
To keep your first aid kit lightweight, consider decanting full-sized supplies into smaller containers, removing unnecessary items, and organizing your kit efficiently. Also, aim to only pack the essentials for the length of your hike.
How often should I check and restock my first aid kit?
It’s a good practice to check your first aid kit every 3-6 months. Check for expired items, restock used supplies, and adjust the contents based on your hiking experiences or changes in environment.
What should I do if I use supplies during a hike?
If you use supplies during a hike, take note of what was used. After your hike, restock those items immediately so your kit is always ready for future adventures. This ensures that you won’t be caught short next time!
Is it necessary to take a first aid course before hiking?
While it’s not mandatory, taking a first aid or CPR course is highly recommended. It equips you with the skills needed to use your first aid kit effectively during an emergency. It’s a valuable investment in your safety and the safety of your hiking companions.
by Preparation | Apr 20, 2025 | Preparedness
Utilize Trusted News Sources
Know Where to Look
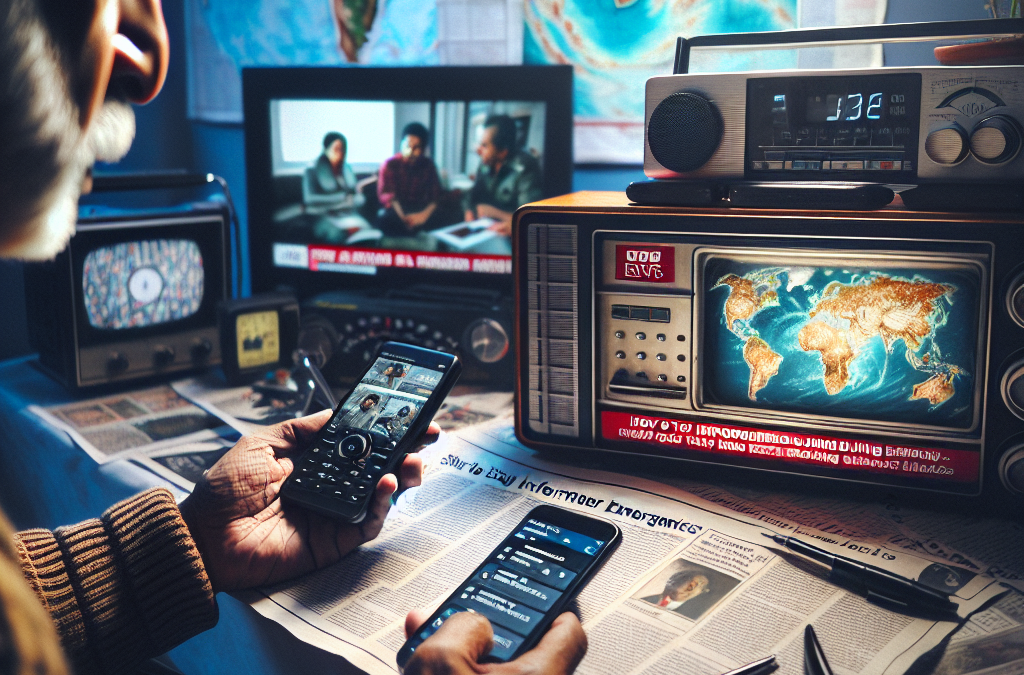
When an emergency hits, you want to get accurate information quickly. It’s crucial to have a list of trusted news outlets you can turn to. Local news stations are often first on the scene and provide real-time updates. I personally like to check in with my local radio stations, which can be super helpful when other means of communication are down.
Online news we’re all familiar with, like CNN or BBC, often have live updates during major events. They not only cover national news but also lend a hand with what’s happening in local communities. A word of caution, though—make sure to filter out sensationalism and focus on objective reporting.
Social media can also be a valuable tool, especially when you’re looking for on-the-ground updates. Twitter, for instance, can provide firsthand accounts from people who are experiencing the emergencies. Just be sure to verify information with trusted sources before taking any action based on it!
Set Up Emergency Alerts
Local Alerts and Notifications
These days, setting up emergency alerts is easier than ever. I remember the first time I got an emergency alert on my phone; it felt like I was connected to a lifeline. You can sign up for notifications from your local government or emergency services, which will send you text messages or push notifications about urgent situations in your area.
Each state has its own alert system, so take a moment to find out what’s available in your area. The National Weather Service, for example, pushes out alerts for weather emergencies that can save lives. FYI, it’s often as simple as texting a keyword to a designated number!
Don’t forget to customize your notifications! You can choose which alerts you want to receive, so you’re not overwhelmed with unnecessary information. Being selective keeps you focused on what truly matters during a crisis.
Communicate with Friends and Family
Establish a Communication Plan
In tough times, staying in touch with loved ones is crucial. I’ve learned that having a realistic communication plan can give everyone peace of mind. Discuss how you’ll contact each other during an emergency—whether it’s through calls, text messages, or even social media.
I like to designate a central contact person in the family, someone who can keep everyone updated. If it’s tough to reach an individual, this person serves as the point of communication for the group. It makes things flow a lot smoother!
Make sure everyone knows how to reach this person and keep their contact information handy. Quick access can save precious time when you’re worried about your family’s safety during an emergency.
Stay Engaged on Social Media
Follow Reliable Accounts
Alright, let’s talk about social media. When an emergency unfolds, platforms like Twitter and Facebook can provide vital information. It’s best to follow reliable accounts related to emergency management, local authorities, and trusted news outlets. Think of it like creating your own “go-to” list for urgent information!
Being part of local community groups can also help you stay in the loop. Many neighborhoods have Facebook groups or Nextdoor forums where people share alerts, advice, and resources during emergencies. This way, you’re not only getting information but also connecting to your community!
Keep an eye on what’s trending. During emergencies, there’s usually a lot of chatter online. However, be cautious—don’t get caught up in the panic. Stick with your trusted sources for the most accurate details.
Prepare a Go-Bag for Emergencies
Contents of Your Go-Bag
A little preparation goes a long way. I can’t stress enough how important it is to have a go-bag ready to grab in case of emergencies. Think about what essentials you’d need to survive for a few days if things got really bad. I include water, non-perishable food, and basic first-aid supplies—stuff that would keep you going.
Don’t forget about documents! I keep copies of identification and important papers in there too—you know, just in case. It’s also a good idea to have cash on hand since, in emergencies, ATMs may not be working.
Lastly, consider adding items that cater to your family’s specific needs, like medications or pet supplies. Preparing this go-bag ahead of time takes a weight off your shoulders when you’re facing an emergency, trust me!
FAQs
1. What should I do first when an emergency occurs?
First, stay calm. Assess the situation and check in with reliable news sources to see what’s going on.
2. How can I ensure I’m getting accurate information?
Stick to trusted news outlets and official emergency services. Also, verify information before taking any action.
3. What goes into a good emergency go-bag?
Your go-bag should include water, non-perishable food, a first-aid kit, important documents, and anything specific to your family needs like medications.
4. How do I set up local alerts?
Visit your local government’s website to sign up for emergency notifications. It’s usually straightforward and needs just a little bit of your info.
5. Why is social media useful during emergencies?
Social media can provide real-time updates and firsthand accounts from those directly affected, although it’s vital to ensure you’re following reliable sources to avoid misinformation.


