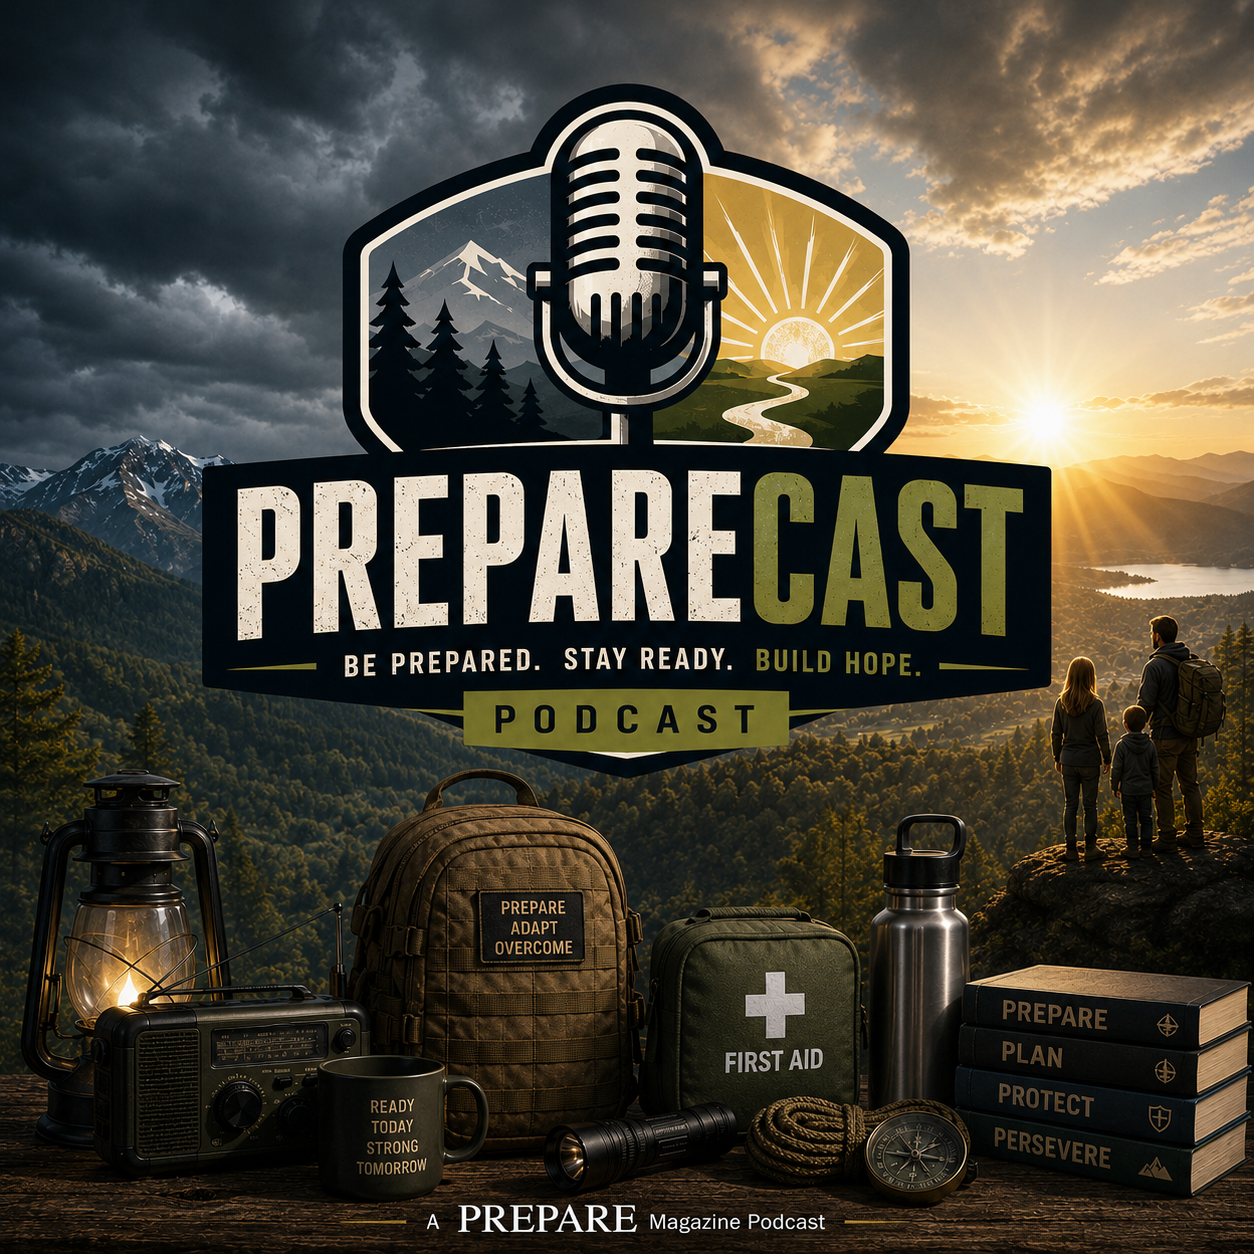
Are you ready for the unexpected? Emergencies can strike at any time, and being prepared is essential to keep your family safe. In this blog post, we will show you how to build a home emergency kit in just 30 minutes or less.
Introduction:
Emergency Preparedness Starts with You!
An emergency can happen anywhere, anytime. It could be a natural disaster like an earthquake or hurricane, or it could be something more personal like a house fire or medical emergency. When an emergency strikes, having a plan and being prepared can make all the difference. Building a home emergency kit is one of the most important steps you can take to ensure that you are ready for whatever life throws your way.
What to Include in Your Emergency Kit:
The key to building a comprehensive emergency kit is to think about what you would need if you were suddenly forced to evacuate your home or shelter-in-place for several days. Here are some essentials that should be included in every emergency kit:
1. Water – One gallon per person, per day (minimum three-day supply)
3. Flashlights/Batteries – Make sure they are easy to find and accessible
4. First Aid Kit – Bandages, antiseptic wipes, pain relievers, etc.
5. Multi-Tool – Knife, pliers, screwdriver, etc.
6. Radio – Battery operated radio with extra batteries
7. Whistle – To signal for help
8. Dust Masks – N95 respirator masks to protect against airborne contaminants
How to Organize Your Emergency Kit:
Organizing your emergency kit is crucial so that you can quickly locate everything when you need it most. Consider using a plastic container or backpack to store your supplies. Label each item clearly so that everyone knows where everything is located. Keep your emergency kit in a designated area that is easily accessible, such as near your front door or in a closet by the garage.
Where to Store Your Emergency Kit:
Ideally, your emergency kit should be stored somewhere close to your exit point, such as near your front door or in a closet by the garage. If you live in an area prone to flooding, consider storing your emergency kit on higher ground or elevating it off the floor. Remember, your emergency kit should be easily accessible so that you can grab it quickly in case of an emergency.
Additional Items to Consider:
In addition to the basics listed above, there are many other items that you may want to include in your emergency kit depending on your specific needs. Some additional items to consider include:
1. Extra clothing and blankets
2. Pet food and water bowls
3. Important documents (passports, birth certificates, insurance policies)
4. Cash and change
5. Matches or lighters
6. Sewing kit
Conclusion:
Being prepared for an emergency takes planning and practice. By taking the time to build a home emergency kit now, you can rest easier knowing that you and your loved ones will be able to weather any storm. Remember, emergency preparedness starts with you!
Disaster preparedness is an essential aspect of ensuring the safety and well-being of your family. A disaster can strike at any time, leaving you without power or access to basic necessities. By building a disaster kit for your home and family, you can ensure that you have everything you need to survive until help arrives. In this blog post, we will discuss how to build a disaster kit, what items are essential, how to store and maintain it, testing and updating your plan, and taking action towards disaster preparedness.
What is a Disaster Kit?
A disaster kit is a collection of supplies and equipment that can help you and your family survive during a natural disaster or emergency situation. It should contain all the necessary items that you may need in case of a crisis, such as food, water, first aid supplies, communication devices, and tools. The key to building a comprehensive disaster kit is to identify potential risks and threats in your area and prepare accordingly.
Essential Items for Your Home and Family’s Disaster Kit:
Here are some essential items that you should include in your disaster kit:
1. Water – Store enough drinking water for each member of your household for at least three days.
2. Food – Pack non-perishable food items that won’t spoil easily and require minimal preparation.
3. First Aid Supplies – Include bandages, antiseptic wipes, pain relievers, and other medical supplies.
4. Flashlights and Batteries – Make sure you have multiple flashlights with extra batteries so that you can see in low light conditions.
5. Communication Devices – Keep a charged cell phone on hand, along with a portable charger and a two-way radio.
6. Tools – Include a multi-purpose tool like a knife or hatchet, pliers, screwdrivers, and a hammer.
7. Personal Hygiene Items – Don’t forget to pack personal hygiene items like soap, toothbrushes, toilet paper, and sanitary napkins.
How to Store and Maintain Your Disaster Kit:
Once you have assembled your disaster kit, it’s crucial to store it properly. You want to keep it in a location where it’s easy to access but also safe from damage or theft. Consider storing it in a durable container like a plastic tub or backpack. Also, make sure to check the expiration dates on perishable items regularly and replace them when needed. Testing and Updating Your Disaster Plan:
Testing and updating your disaster plan is critical to ensuring its effectiveness. Conduct regular drills with your family members so they know what to do in case of an emergency. Practice evacuating your home and meeting at designated locations. Update your plan based on feedback from these tests and adjust it according to changes in your living situation or local hazards.
Conclusion: Taking Action Towards Disaster Preparedness:
Taking action towards disaster preparedness is vital to keeping yourself and your loved ones safe. Building a disaster kit, having a solid plan in place, and staying informed about potential risks in your area can significantly reduce the impact of a disaster. Remember, being proactive is always better than reacting too late.
As the world becomes more unpredictable, it’s essential to be prepared for any emergency. Natural disasters can strike at any time and without warning, leaving devastation in their wake. However, by taking proactive steps towards emergency preparedness, you can minimize the impact of a natural disaster on your family or business. In this article, we will provide you with a step-by-step guide on how to prepare for a natural disaster.
Step One: Introduction to Emergency Preparedness
The first step in preparing for an emergency is to understand what constitutes as one. A natural disaster refers to any event that occurs naturally and causes significant damage to life or property. Some examples include hurricanes, earthquakes, floods, tornadoes, wildfires, and blizzards. Understanding these events and their potential impact on your area will help you create an effective emergency plan.
Step Two: Creating an Emergency Plan and Kit
Creating an emergency plan involves identifying potential risks, developing strategies to mitigate them, and establishing communication protocols with loved ones. You should also consider creating a contact list of local authorities, hospitals, and other important numbers. Additionally, having an emergency kit ready beforehand can make all the difference during a crisis. Your emergency kit should contain non-perishable food items, water, flashlights, batteries, first aid supplies, and any necessary medications. It’s crucial to have these supplies readily available so you don’t have to rush around looking for them when disaster strikes.
Step Three: Preparing Your Home for Natural Disasters
Preparing your home for a natural disaster requires some additional measures beyond having an emergency kit. For example, securing loose outdoor furniture or equipment that could become projectiles during high winds. You may also want to install storm shutters or reinforce doors and windows to protect against flying debris. If you live in an area prone to flooding, elevating valuable possessions off the ground or investing in sandbags can help prevent water damage. Taking these precautions can go a long way in keeping your family safe and reducing the risk of injury or loss during a natural disaster.
Step Four: Staying Safe During a Natural Disaster
Staying safe during a natural disaster often depends on the specific type of event. For instance, if there’s a tornado warning, seeking shelter in a basement or interior room away from windows is recommended. Similarly, during a hurricane, evacuating to higher ground if possible or staying indoors on the highest floor of a sturdy building is advised. Regardless of the situation, always follow the advice of local officials and stay informed through reliable news sources.
Step Five: Recovering After a Natural Disaster
Recovering after a natural disaster can take weeks, months, or even years depending on the severity of the event. The first few days following a disaster are critical, as they involve searching for survivors, restoring power and utilities, and providing medical assistance to those in need. As the recovery process continues, it’s essential to document any damages or losses and file insurance claims promptly. Additionally, reaching out to community organizations or volunteering opportunities can help speed up the recovery process while providing support to others who were affected by the disaster.
Ultimately, being prepared for a natural disaster is vital to ensuring the safety and wellbeing of yourself and your loved ones. By following our step-by-step guide, you can develop an effective emergency plan and reduce the impact of a natural disaster on your life. Remember, stay calm, stay informed, and above all else, stay safe.