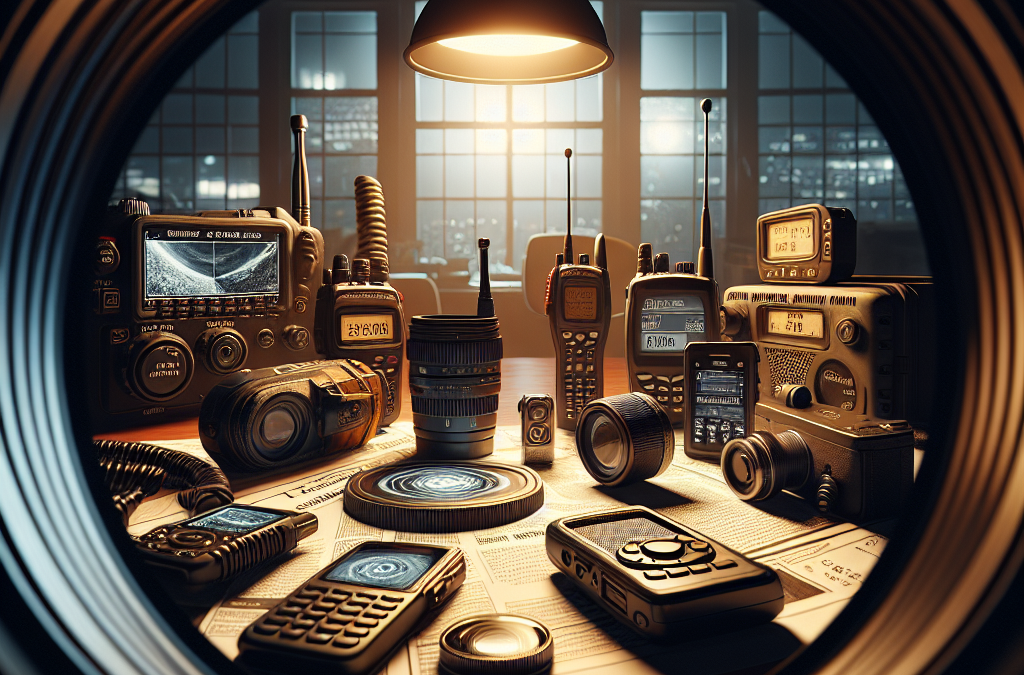
The Best Communication Devices for Emergencies
Emergency Radios
What They Are
When the power goes out and cellular networks crash, emergency radios can be a lifesaver. I remember a time during a big storm when my neighborhood was plunged into darkness. I pulled out my trusty emergency radio, which has both AM and FM capabilities. It was my window to the outside world, giving updates on the storm and safety instructions from local authorities.
These handy gadgets don’t just offer weather updates, though. Many models can pick up NOAA weather alerts, so you’ll also be informed about any tornado warnings or flash floods in real-time. Plus, they tend to have solar charging options or hand crank mechanisms, so you’re not stuck without power.
In emergencies, it’s calming to know that I can tune into something reliable. There’s a sense of security that comes with being informed. So, if you’re considering investing in an emergency radio, think about one that combines reliability with additional features, like USB ports for charging your devices!
How to Choose the Right One
Choosing the perfect emergency radio can feel overwhelming. Here’s the deal: consider your primary needs. Will you be needing it mainly for weather updates, or do you want something versatile that can also boost your phone battery? Look for multi-band radios to give you the broadest access.
Durability is another biggie. You want something that can withstand the elements; after all, emergencies can hit hard! I suggest looking for models that claim to be weather-resistant. It’s also a good idea to check the battery life. Some radios come with long-lasting batteries that can outlast a few days of emergencies.
Lastly, read the reviews. Other users can provide insight into how the device performed in real situations. I learned a lot from others regarding usability and sound clarity. Giving it a good read through can help you narrow down your options!
Staying Updated
Having an emergency radio is only part of the equation. The other part is knowing how to use it effectively. When I first got mine, I did a practice run. I sat there, flipped through the channels, and made sure I understood how to get updates during different scenarios.
Be sure to understand how to set alerts. Many emergency radios allow you to save specific channels that will keep you updated on various emergencies. Setting this up in advance takes the stress out when things go south.
Lastly, don’t forget to regularly check the functionality. There’s nothing worse than reaching for a device you’ve saved for a rainy day, only to find its batteries are dead or it’s broken. Make it a routine to check it every few months!
Satellite Phones
Why You Need One
While smartphones are our go-to for communication in daily life, they might fail when you’re off the grid. During my last hiking trip, a friend relied on his satellite phone when our phones couldn’t get a signal anywhere. It was a relief knowing he could contact emergency services if things went sideways.
Satellite phones operate independently of cellular networks and can connect to satellites overhead, which provides coverage almost anywhere. Whether you’re camping in the wilderness or traveling to remote areas, these phones can be invaluable. Just remember, they tend to be pricier than your regular phone, so keep that in mind while making a decision.
Plus, many satellite phone providers offer plans with different features like text messaging and data services. Make sure you understand what you’re getting into before you invest. In emergencies, being able to communicate could make all the difference!
Choosing the Right Provider
Once you’re ready to go with a satellite phone, picking a provider is the next step. Research is key—I turned to online reviews and comparison sites to check coverage maps. Some providers may not cover regions you’ll be visiting, so it’s vital to analyze their service area.
Also, think about the plans they offer. Some are pay-as-you-go, while others might lock you into a contract. Depending on how often you think you’ll need it, one could work better for you than the other.
Ultimately, ask yourself: what will you be using it for? If it’s just emergency calls, you probably don’t need the fanciest model. But if you’re planning on traveling or staying put in a remote area, investing in a high-quality device pays off.
Staying Connected
Using a satellite phone requires a little bit of a learning curve, but it’s worth it. I practiced sending texts and making calls before heading out on my next trip. Knowing how to reach someone quickly if you’re in a tough spot helps ease that panic that can creep in during emergencies.
Additionally, familiarize yourself with the device’s user manual. It can contain useful tips and emergency procedures you might need to remember. Building up that knowledge ahead of time can make emergencies a lot less stressful!
To wrap up, consider carrying a backup power source for your satellite phone. When you’re out and about, you might find yourself in a situation where charging isn’t an option. Being prepared can mean the difference between staying in touch or being alone when you need help.
Two-Way Radios
Understanding Two-Way Radios
Two-way radios are downright fun, and they can also be practical in emergency situations. During a family camping trip a few years ago, we used them to keep in touch while hiking separately. It added a playful layer to our adventure, but they also served a serious purpose, ensuring we could coordinate in case of emergencies.
These devices come with varying ranges, so depending on how far apart you think you might get, you’ll want to choose accordingly. In most cases, they’re much more reliable than cell phones when it comes to in-the-field communication.
It’s also worth noting that some two-way radios utilize GMRS or FRS frequencies, so be sure to check regulations if you’re outside the country. If you find yourself in a situation where you need to use one of these radios, you’ll want to comply with local laws!
Choosing the Right Model
When selecting a two-way radio, you’ll want to consider the distance you need to cover. I found that while some brands might advertise an impressive range, the actual performance can vary greatly in different environments, like forests or mountains. Always check the actual test results that users report!
Battery life can be a big deal too. Look for radios with good battery conservation features, especially if you expect to be using them extensively. Also, check how easy it is to switch batteries in case you need to replace them on the fly.
I always recommend going with a model that feels comfortable in your hand and is easy to use. In an emergency, you want something that’s straightforward, without a million buttons you have to fiddle with!
Advantages in Emergency Situations
What I love about two-way radios is their immediate connectiveness. Just press a button, and bam—you’re talking to your buddy or family member. There’s no dialing or waiting for a connection like with phones, which can be crucial in urgent situations.
Also, they’re a great option for group communications. Plus, when you’re in a large group, you can coordinate with your friends and family seamlessly without needing everyone to have phone service. It just helps keep everyone on the same page.
Lastly, they’re generally more rugged and portable than smartphones, so if you’re out in the wild, your risk of damage is lower. Toss them in your pack and go! Just don’t forget to establish a communication plan ahead of time.
Signal Flares
When to Use Them
Signal flares are old-school but incredibly effective for getting attention in emergencies. I remember practicing how to use one during wilderness survival training, and it gave me a real sense of confidence knowing I had a last-resort method to signal for help.
They’re particularly useful in situations where you might be lost or needing to draw attention—like if you’re hurt and can’t move easily. The bright colors and smoke can cut through even dense wilderness, signaling your location to rescue teams or passersby.
However, using a signal flare requires some safety precautions. They can be hazardous if not used properly, so always follow instructions carefully and use them in open areas where there’s no fire risk!
Types of Flares
There are generally two types of flares: handheld and aerial. Handheld flares are great for close-up signalling, but they burn out quickly. Aerial flares, on the other hand, can shoot high into the sky, making them visible from miles away.
When I first chose my flares, I opted for both types, since I couldn’t foresee every situation I might land in. This combo has provided flexibility while staying safe when I’m out and about!
Ensure you check the expiration dates and storage of your flares. Over time, they can become less effective, and you don’t want that to be the case when you need them most!
Storing and Handling
Proper storage is critical. I keep my flares in a waterproof bag, ensuring they stay dry and functional whenever I need them. Just storing them in my backpack is a no-go. Having dedicated storage protects them from any bumps or moisture during travel.
Additionally, familiarize yourself with the activation process. During emergencies, your adrenaline will be pumping, and remembering how to use them without a hitch could save valuable moments.
Lastly, be aware of local regulations regarding signal flares. They can be classified differently based on your location, and it’s smart to know what you can and can’t do with them to avoid any issues down the line.
Online Communication Apps
Why They Matter
In this digital age, we can’t overlook the power of online communication apps, especially during emergencies. I have found apps like WhatsApp and Signal to function even when phone lines are down in certain areas, as long as there’s Wi-Fi or a cellular signal available.
The great thing about these apps is the ability to send texts, make calls, and even share locations with friends and family. During a past event, my group used an app to coordinate when we got separated during a festival, and it made a huge difference in keeping us all together.
Moreover, many apps now have built-in features for emergency contact alerts and location sharing, which can be instrumental in a pinch. Just remember, though, that they require connectivity; you need Wi-Fi or a data connection, so always have backup options.
Best Apps for Emergencies
Some popular emergency apps include Zello, which works like a walkie-talkie, and Life360, which provides location sharing for friends and family. I’ve met people who swear by these for large events, providing peace of mind knowing everyone is safe or can be quickly located. Staying connected is practically at our fingertips!
Check if the app has a user-friendly interface—trust me, the last thing you want is to fumble around during an emergency trying to find the “send” button!
Don’t forget to encourage your friends and family to download the same apps! Communication is easier when you’re all working with the same tools. After all, you want to ensure your entire network is on the same page in emergencies.
Limitations to Consider
While these apps are convenient, they come with limitations. For starters, battery life can be a significant factor in emergencies. Phones can drain quickly, especially when you’re in a high-stress situation or if multiple apps are running.
Moreover, if the internet is down (like during a natural disaster), these apps become useless. Again, thank heavens for radios or two-way systems as a backup! Mixing various communication devices ensures you have reliable options.
Be sure to update your apps regularly, too. This can provide you with the most current features and security enhancements, which can prove especially valuable in emergencies where privacy and efficiency are key.
FAQ
1. What is the most reliable communication device during emergencies?
It really depends on your situation, but most people find emergency radios and satellite phones to be the most reliable options because they don’t rely on cellular networks.
2. How often should I check the battery life of my devices?
I recommend checking at least every few months to ensure they’re ready when you need them. After all, nothing is worse than pulling out a dead device during a crisis!
3. Can signal flares be reused?
No, signal flares are one-time-use devices and should be disposed of properly after activation. Always check your local regulations regarding disposal.
4. Are two-way radios legal everywhere?
Most places allow you to use them, but some regions have specific frequencies that require a license. Always check local regulations to avoid issues.
5. Why should I invest in multiple communication devices?
Having a mix provides greater reliability. If one device fails due to power loss or lack of connectivity, you’ll have alternatives to ensure you can stay connected.