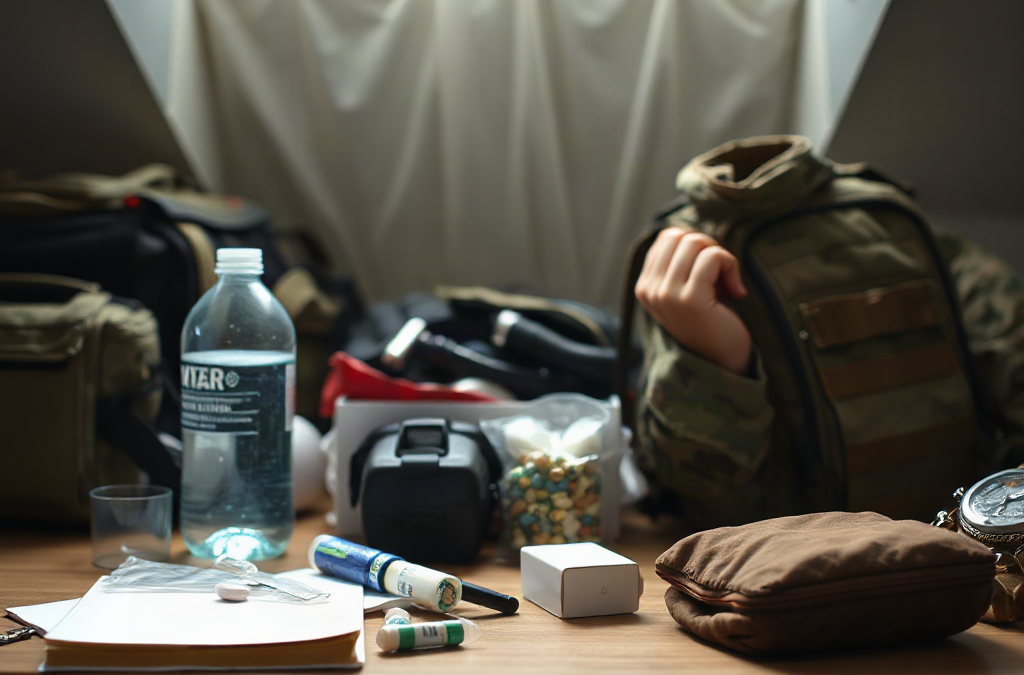
A deployment-style packing list works for civilian emergencies when its central idea is retained: every item should serve a clear function, remain usable under disrupted services, and earn its space and weight. A household evacuation, apartment fire, flood, extended outage, or sudden relocation may require different equipment, but all can punish disorganized packing. The useful adaptation is not a uniform or tactical appearance; it is disciplined prioritization.
Military or field packing often assumes shared equipment, resupply, specialist training, and a known mission. A civilian may have none of those advantages. Your bag must therefore support basic self-care while leaving room for changing instructions. Water, medicines, identification, communication, and weather protection generally outrank gadgets. A compact radio may be useful, but it cannot replace prescription medication or a way to carry drinking water.
Separate supplies into three layers. The carry layer stays light enough for walking and contains items needed during the first several hours. The vehicle layer adds bulkier food, charging equipment, blankets, and tools when a car is available. The home layer supports staying in place and should not be treated as a substitute for an evacuation bag. This structure limits the damage if a vehicle is inaccessible or a single pack is lost.
Immediate: identification, medications, water, food, light, phone power, and basic first aid.
Conditional: tools or specialty equipment selected for local weather, terrain, transport, and household needs.
A common failure is copying a generic field list without considering the civilian mission. Heavy cutting tools, excess cookware, or duplicate containers may feel capable but reduce mobility. A better test is simple: if the item does not help you drink, eat, move, communicate, stay warm and dry, manage a health need, or comply with an official instruction, it probably belongs in a lower-priority layer. The civilian packing list should reflect your actual route and household rather than an imagined expedition.
Build the 72-Hour Carry Kit
The carry kit should be organized around the first 72 hours, but that period is a planning window rather than a promise that assistance or utilities will return on schedule. Pack in waterproof bags inside a durable backpack, using small pouches for medication, documents, food, and electronics. Label contents plainly so another household member can find them under stress.
Water deserves special attention because it is heavy, essential, and difficult to improvise. Carry a practical amount for your route and physical capacity, then add a compact treatment option appropriate for the kind of contamination authorities may warn about. A filter, tablets, or boiling method has different limitations; none should be assumed to make every source safe. Keep drinking containers accessible rather than buried beneath clothing.
Food should be edible without refrigeration, cooking, or extensive cleanup. Familiar items such as shelf-stable nutrition bars, nut butter packets, crackers, dried fruit, canned fish with a pull tab, or other foods tolerated by the household are more useful than impressive but unfamiliar ration products. Include a manual opener if any package requires one. People with allergies, diabetes, swallowing difficulties, or infant-feeding needs need dedicated supplies rather than a generic substitution.
Pack medicines in original labeled containers when possible, along with a written medication list and relevant contact details. A small first-aid kit can address minor cuts, blisters, and routine wound covering, but it is not a replacement for urgent medical care. Keep copies of identification, insurance information, emergency contacts, and essential household instructions in a sealed pouch. Digital copies can supplement paper copies, not replace them when devices or networks fail.
Lighting and communication equipment should be tested together. A headlamp leaves both hands free, while a small flashlight provides a backup. Store spare batteries correctly or use a rechargeable light with a power bank, but check connector compatibility before packing. Phone charging gear is valuable only if the cable, battery, and phone work as a system. The usual mistake is adding multiple electronic devices while omitting a written contact card and a way to signal or read information when the network is unavailable.
Pack for Shelter, Travel, and Personal Needs
Clothing in an emergency pack is a protection system, not a fashion change. Choose layers suited to the season: a moisture-managing base layer, insulating layer, and weather-resistant outer layer when conditions warrant. Add sturdy footwear or keep it immediately available, plus spare socks, work gloves, and eye protection if debris, smoke, or broken materials are plausible. Avoid packing a single bulky garment that becomes useless if wet; several adaptable layers usually provide better control.
Shelter supplies should match the likely decision. A person evacuating by car may need blankets, a tarp, and a change of clothes, while someone walking through crowded streets benefits more from a compact poncho and low-profile insulation. A sleeping bag can be helpful in cold conditions but may be excessive for a short indoor relocation. Space and climate change the answer. Test the packed load in the clothing you may actually wear, because a comfortable bag indoors can become awkward on stairs or uneven ground.
Sanitation prevents small problems from becoming barriers to travel or sheltering. Pack toilet paper in a sealed bag, hand sanitizer, soap sheets or a small soap container, menstrual products, toothbrush supplies, waste bags, tissues, and any continence supplies. Include a small towel or absorbent cloth. These items are inexpensive but frequently omitted because they seem less dramatic than tools. In a crowded shelter, personal hygiene supplies also reduce dependence on uncertain availability.
Personal circumstances should change the list more than internet checklists do. A child may need comfort items, spare clothing, and food that can be eaten safely. A person with limited mobility may require transfer aids, extra batteries for equipment, or a route-specific transport arrangement. Pets need food, water containers, medication, identification, a leash or carrier, and waste supplies. Keep copies of care instructions so another person can help if family members become separated.
Do not confuse defensive equipment with general preparedness. Knives, weapons, or specialized protective gear may create legal, safety, or transport problems and require training that a packing list cannot provide. Prioritize visibility, footwear, communication, and avoiding hazards. A frequent misconception is that more tools create more security; in civilian travel, excess weight and unfamiliar equipment can slow movement, invite loss, or distract from official evacuation directions.
Test, Stage, and Maintain the Load
A packed bag is only useful if its owner can carry it, identify its contents, and use the equipment without instruction. Conduct a short walk on stairs and ordinary pavement with the intended load. Check whether straps rub, footwear causes hot spots, or the bag blocks access to medication and water. If the pack is too heavy, remove duplicates and low-probability tools before removing core health, hydration, or weather items.
Run a household drill that begins with a realistic prompt: a building alarm, a local evacuation notice, or a multi-day outage. Have each person retrieve their own bag, secure pets, collect phones and glasses, and leave by the intended route. The exercise often reveals practical defects that shopping cannot: a child cannot open the food, a charger uses the wrong connector, documents are stored in a locked drawer, or the chosen shoes are not near the exit.
Stage supplies where the hazard allows. Keep the carry bag near an exit but not where smoke, floodwater, or falling objects are most likely to block access. Store vehicle supplies in a way that does not become a projectile and avoid leaving heat-sensitive medicines or batteries in extreme temperatures. If evacuation may involve public transport, favor a compact soft-sided arrangement over several loose containers.
Maintenance should follow use and seasons. Replace consumed food, inspect seals, rotate batteries, update contact information, and review medication needs with the appropriate clinician or pharmacist. Recheck clothing as children grow and as weather changes. A simple inventory can record item, quantity, expiration or inspection date, and location. The point is not perfect readiness; it is preventing a known failure from recurring.
Use the packing list as a decision tool after every drill. If a component was difficult to access, unsafe, uncomfortable, or irrelevant to the scenario, revise it. Keep a written route and meeting arrangement, but follow current instructions from local emergency officials when they conflict with an old household assumption. The strongest kit is not the largest one; it is the one that remains usable when time, information, and carrying capacity are limited.
Frequently Asked Questions
How much should a civilian emergency bag weigh?
Keep it light enough for the least mobile intended user to carry over the planned route. Test the actual load and shift bulky items to a vehicle or home cache.
Should food be packed for three full days?
Pack ready-to-eat food for the people and pets who may rely on the bag, while recognizing that local conditions, evacuation timing, and access to shelter can change the required amount.
What matters most if there is little room?
Prioritize medications, water, identification, phone power, light, weather protection, essential food, and sanitation. Remove duplicates before removing these functions.
Should every family member carry the same items?
No. Share heavy items where practical, but give each person essential identification, medication access, water, and age-appropriate comfort or communication items.
How often should the bag be checked?
Review it after every use, before seasonal weather changes, and whenever medications, contact details, clothing sizes, pets, or household mobility needs change.
Further Reading
Authoritative Sources
Build an Emergency Kit ready.gov
Provides federal guidance on core household supplies and adapting them to personal needs
Survival Kit Supplies redcross.org
Offers practical suggestions for assembling supplies for evacuation and sheltering
Emergency Water Information cdc.gov
Explains safer responses when drinking-water service or quality is uncertain
Conclusion
A civilian adaptation of a deployment packing list should make movement and short-term sheltering more manageable without pretending that a backpack can solve every emergency. Build separate carry, vehicle, and home layers; put health, water, identification, food, lighting, communication, clothing, and sanitation ahead of novelty tools; then tailor the result to route, climate, mobility, pets, and medical needs. Test the bag on foot, practice retrieving it under a realistic prompt, and correct failures while they are still inexpensive to fix. A smaller load that the household understands and can use is more valuable than a heavier collection of supplies left unopened or forgotten.
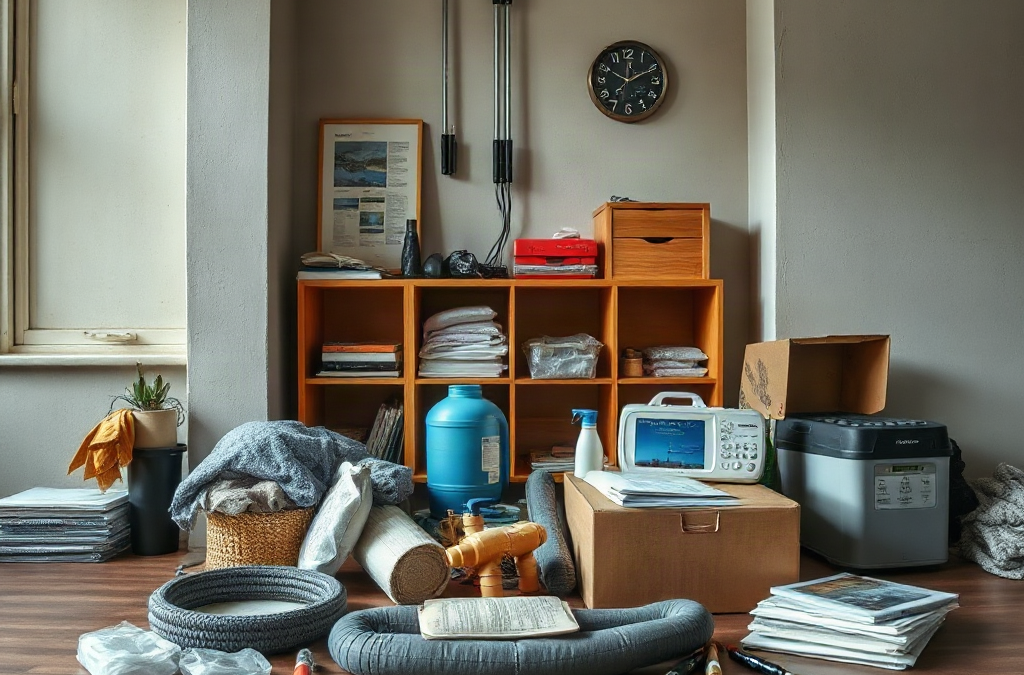
An apartment earthquake plan begins with understanding which decisions belong to the resident and which belong to the building owner, utility provider, or emergency services. In a detached home, a person may know exactly where the gas meter and main shutoff are located. In an apartment, gas equipment may be outside the unit, locked away, absent altogether, or controlled by a central system. Treating a breaker panel or valve as if it were yours to operate can create safety, access, or liability problems.
Walk through the unit and identify hazards rather than simply labeling rooms as safe or unsafe. Note tall furniture, glass, mirrors, hanging fixtures, water heaters, appliances, overloaded outlets, and items stored above head height. Pay special attention to the kitchen, where broken glass, spilled liquids, and shifted appliances can make an ordinary exit dangerous. A balcony, stairwell, hallway, or exterior wall may also contain falling material that is not visible from inside the apartment.
Ask management or maintenance specific questions in writing. Find out whether the building has a central gas system, where authorized utility controls are located, whether residents can access electrical breakers, and how water damage should be reported after hours. Ask which alarms, sprinklers, elevators, and emergency lighting are connected to backup power. The goal is not to perform building maintenance; it is to know whom to contact and what not to touch.
A common mistake is assuming that no gas shutoff means there is no fire-related utility risk. Electrical arcing, damaged extension cords, ruptured water lines, and battery failures can still create hazards. Conversely, another mistake is rushing to manipulate unfamiliar controls after shaking. Mark locations, save management and utility contacts, and follow posted building instructions unless immediate life safety requires evacuation.
Secure Rooms for Shaking and Falling Objects
Most apartment preparation begins with reducing what can fall, slide, shatter, or block an exit. The objective is not to make every object immovable. It is to keep heavy items from landing on occupants and preserve a usable path from sleeping areas to the outside. Furniture anchored to a stud or suitable structural point is generally more dependable than furniture merely placed against a wall.
Secure bookcases, televisions, tall cabinets, and freestanding shelves with hardware appropriate for the wall construction. Do not assume that drywall alone will support a heavy cabinet. Place heavy objects low, latch cabinets that hold breakable items, and move glassware away from beds and frequently used seating. Window coverings can reduce contact with broken glass, but they do not replace distance from windows during shaking.
Bedrooms deserve special attention because people are often there when an earthquake begins. Keep sturdy footwear, a flashlight, essential medication, and a way to make a phone call within reach of the bed. Shoes matter because broken glass and damaged flooring may make bare feet unsafe. A flashlight is preferable to using a candle or open flame when wiring, appliances, or unknown fumes may be involved.
Practice the protective action that fits the space: drop, cover, and hold on under a sturdy table or desk when available, or protect the head and neck away from windows and unstable objects. Do not run down stairs while the building is moving, and do not use an elevator during or immediately after shaking. A useful comparison is speed versus survivability: reaching the hallway first is not an advantage if falling objects or stair movement create greater exposure.
Check the plan from the perspective of a child, older adult, person with a disability, and pet owner. A blocked route that is manageable for one resident may be unusable for another. Rearrange storage, add a second route where possible, and identify which doors may jam if the frame shifts. Do not store emergency supplies in a locked closet that requires a key kept elsewhere.
Build Supplies Around Water, Power, and Sanitation
Without a resident-controlled gas shutoff, supplies should support sheltering, inspection, communication, and sanitation rather than only cooking. Water service may stop or become unsafe, elevators may be unavailable, and a damaged electrical system may make normal lighting and charging unreliable. Apartment storage is limited, so portable, stackable supplies usually outperform bulky equipment that is difficult to move through stairs.
Store drinking water in several manageable containers instead of one large vessel. Smaller containers are easier to carry, share, and move if a leak develops. Add shelf-stable foods that can be eaten without cooking, a manual can opener, personal medications, hygiene items, gloves, dust protection, basic first aid materials, a battery or hand-crank radio, spare batteries, charging cables, and a power bank. Keep copies of identification, lease information, emergency contacts, and relevant prescriptions in a water-resistant pouch.
Lighting and sanitation deserve equal priority with food. A headlamp leaves both hands available for opening doors or helping someone, while a lantern can illuminate a shared room. Have heavy-duty bags, toilet paper, hand sanitizer, wipes, and a plan for separating waste from living areas if plumbing is unavailable. Never improvise indoor cooking or heating with charcoal, gasoline equipment, or appliances designed for outdoor use; carbon monoxide can accumulate without an obvious odor.
Supplies should be divided into a bedside or grab location, a main apartment cache, and a small evacuation bag. The bedside set addresses immediate injury and darkness. The main cache supports staying put if the unit is safe. The evacuation bag supports a rapid departure and should not be so heavy that it prevents stair travel. This layered approach is more practical than keeping everything in a single container that may be inaccessible after furniture shifts.
First: shoes, light, medication, phone, and a way to open the exit.
Next: water, ready-to-eat food, sanitation supplies, first aid, and communications.
Then: documents, clothing, pet supplies, tools, and replacement batteries.
A frequent failure mode is buying supplies without testing them. Open the food packaging, charge the power bank, check medication expiration dates, and carry the packed bag up a flight of stairs. If the setup is too heavy, too complicated, or stored behind a blocked door, revise it before an earthquake exposes the weakness.
Use a Building-Specific Response Sequence
After the shaking stops, pause before moving through the apartment. Protect yourself from glass and debris, look for immediate fire or smoke, listen for alarms, and check whether anyone needs urgent assistance. If the building shows serious damage, fire, a strong chemical odor, flooding, or unstable ceilings, leave by the safest available stairs and follow emergency instructions. Do not assume that a familiar hallway remains safe simply because it was safe yesterday.
The absence of a gas shutoff changes what residents should inspect first. Do not spend critical time searching for a valve you cannot access. Instead, look for sparks, burning smells, damaged cords, hot outlets, water near electrical equipment, and active leaks. If a local breaker can be reached safely and residents are authorized to operate it, follow building guidance; otherwise report the condition and keep clear. A water leak can spread quickly through floors, so notify management while also protecting people from electrical contact.
Remain outside if officials or building personnel direct residents not to reenter. Elevators may be trapped, disabled, or stopped between floors, so stairs are the normal evacuation option when they are visibly usable. Take only the evacuation bag if leaving is necessary. Returning for extra belongings can expose residents to aftershocks, falling materials, smoke, or doors that no longer open normally.
Use a simple decision sequence:
Check people, fire, smoke, fumes, major leaks, and visible structural damage.
Move away from immediate hazards and use stairs rather than elevators.
Report the apartment number, floor, injuries, fire, flooding, or utility damage clearly.
Use text messages when calls are congested, and monitor official instructions.
Do not reenter or restore utilities based only on a visual guess.
A weak assumption is that the apartment is safe because the building is still standing. Nonstructural damage can injure residents or start fires even when the main structure appears intact. Another weak assumption is that a phone battery will last through repeated updates. Reduce screen use, carry a backup power source, and agree in advance on an out-of-area contact and meeting location.
Coordinate With Management and Neighbors
Apartment readiness works better when residents understand the building’s communication and access arrangements before an earthquake. Management may have procedures for elevator shutdowns, water isolation, fire alarms, inspection, pets, and temporary relocation. Those procedures can vary by building design, so generic household advice cannot replace the property’s own instructions.
Ask whether there is a resident emergency contact tree, a designated assembly area, and a process for reporting units that need welfare checks. Share only appropriate information, but let trusted neighbors know if someone may need help with stairs, medication, hearing alarms, or moving a mobility device. A neighbor who knows the need exists can respond more effectively than one who discovers it during a noisy evacuation.
Residents should also clarify who has authority to enter units, shut down systems, post notices, or arrange inspections. Do not block fire doors, wedge security doors open, or place supplies in corridors. A personal cache in a hallway may become an obstruction during evacuation. If an item must be stored outside the unit, obtain building approval and keep it out of egress paths.
Consider two scenarios. If the apartment is intact but water service is interrupted, residents may be able to shelter while using stored supplies and receiving building updates. If a neighboring unit has a fire or a stairwell is damaged, the priority shifts immediately to evacuation and accountability. A plan that only covers staying home fails in the second scenario; a plan that assumes everyone must leave may waste resources when the building is safe enough to shelter.
Review the arrangement twice a year and after any move, renovation, new appliance, medication change, or household change. Walk the stairs, test communication methods, replace depleted batteries, and confirm that management contact details still work. For broader Earthquake planning for apartments without gas shutoffs, connect the apartment checklist to neighborhood hazards and local alerts. A building-specific Earthquake planning for apartments without gas shutoffs approach is strongest when residents know both their personal limits and the building’s responsibilities.
Frequently Asked Questions
Should apartment residents shut off the gas after an earthquake?
Only if the shutoff is accessible, residents are authorized to use it, and building or utility instructions support doing so. Never search in a dangerous area or operate unfamiliar equipment; report suspected damage instead.
What should residents do if there is no gas service?
Focus on electrical hazards, fire, water leaks, evacuation routes, communication, and sanitation. No gas system removes one hazard but does not make the apartment automatically safe.
Where should earthquake supplies be stored in an apartment?
Keep a small immediate-use kit beside the bed, a main cache in an accessible interior location, and a lightweight bag near an exit. Avoid closets or corridors that could become blocked.
Is it safe to use an elevator after an earthquake?
Do not use an elevator during shaking or when evacuation is advised. Use a visibly usable stairway and follow officials or building personnel, since elevators may lose power or stop between floors.
How can neighbors support residents who cannot use stairs?
Coordinate before an earthquake, identify trusted helpers, and tell management about accessibility needs. Never carry someone down stairs without suitable training or an approved evacuation procedure.
Further Reading
Authoritative Sources
Earthquakes ready.gov
Federal preparedness information covering protective actions, supplies, alerts, and recovery decisions for earthquake households
Earthquake Hazards Program usgs.gov
Explains earthquake hazards, aftershocks, shaking, and risk information that can inform apartment-level decisions
Earthquake Safety and Preparedness fema.gov
Provides government guidance on reducing household hazards and responding safely after an earthquake
Conclusion
Apartment earthquake readiness is less about owning a gas wrench and more about controlling the hazards you can actually influence. Secure furniture and glass, protect sleeping areas, store portable water and sanitation supplies, and keep a lightweight evacuation bag where it remains reachable. Learn the building’s utility boundaries, emergency contacts, stair routes, inspection process, and communication system before shaking occurs. Afterward, look for fire, smoke, damaged wiring, flooding, and structural warning signs rather than assuming a standing building is safe. Coordinate with management and neighbors, especially when mobility, medical, or pet needs affect evacuation. Review the setup after household changes and practice the route once or twice a year so the plan remains usable under real apartment constraints.
Define the Communication Failure Before Choosing Equipment
Lost communication is not one problem. A cellular outage, damaged local infrastructure, a dead phone battery, network congestion, poor reception, and a simple missed call require different responses. A useful back-up plan for lost communication begins by identifying which part of the chain may fail: the device, the power source, the network, the person using it, or the route between two locations.
That distinction changes the solution. If a phone has power but the cellular network is overloaded, a short text may succeed where a voice call does not. If the network is unavailable across an area, another carrier may offer little practical improvement. If relatives are only a few miles apart, a properly tested two-way radio may be useful; if they are in different cities, a radio designed for short-range use will not solve the problem. A written rendezvous arrangement may be more dependable than buying equipment that cannot reach the people who need it.
Consider a family whose members work in separate parts of town. Their first failure may be congestion after a storm, followed by low phone batteries and conflicting assumptions about whether to travel. Their backup should address those stages in order: conserve battery, attempt brief text messages, consult an agreed status schedule, and use a fixed meeting location only when travel is reasonable. Someone living alone may need a different design, such as a neighbor check-in and a contact outside the affected area.
A common mistake is treating “no signal” as the only scenario. Communication can also become unsafe when rumors, impersonation, or contradictory instructions circulate. A plan should identify trusted contacts and define what counts as confirmation. The objective is not to maintain constant conversation; it is to exchange enough accurate information to make the next safe decision.
Build Contact Rules That Still Work Under Stress
Contact rules convert a vague intention into a sequence people can follow without negotiating during a disruption. The arrangement should specify a primary contact, a secondary contact, check-in times, a meeting location, and the action to take when nobody responds. Each detail removes a decision that could otherwise produce delays or unnecessary travel.
Use a contact card rather than relying solely on an address book. Include full names, phone numbers, an out-of-area contact, relevant addresses, allergies or access needs where appropriate, and the agreed meeting points. Keep a paper copy in a wallet, vehicle, work bag, and home location that is easy to reach. Digital copies can supplement the paper, but they should not be the only record if devices may be lost or uncharged.
The meeting arrangement deserves precise wording. “Go to the usual place” is weak because people may have several usual places or may find one inaccessible. Identify a primary site and an alternate, along with a time window and a rule for leaving. For example, a household might use a nearby public location as the first site and a relative’s home outside the immediate area as the second. The plan should account for locked buildings, road closures, weather, mobility limits, and the possibility that one person is already with a caregiver or at work.
Contact attempts also need boundaries. Repeated calls drain batteries and may prevent short messages from getting through. A practical sequence could allow one brief call, one text containing location and status, and a later check-in rather than continuous redialing. Keep messages factual: identify yourself, state whether you are safe, give your current general location, and name the next planned action. Do not include sensitive information in a message that could be viewed by the wrong person.
The failure mode to avoid is assuming that silence means danger or that a reply means the situation is fully resolved. A delayed message may reflect congestion rather than an emergency, while a single successful exchange may not confirm safe travel. Rules should tell people when to wait, when to seek help through official channels, and when a change in conditions overrides the original schedule.
Use Layered Alternatives: Text, Radio, and Written Messages
A resilient communication arrangement uses different failure points rather than several versions of the same tool. A second phone on the same exhausted network is not a complete alternative. Layering may involve text messaging, email or an internet service when available, two-way radio for nearby users, a landline where one exists, and physical messages at a predetermined location.
Text messages are often worth trying before voice calls because they require less continuous connection and can be sent briefly. Their limitation is that delivery may be delayed, and the sender may not know whether the recipient has seen the message. Keep the wording compact and use an agreed format, such as “SAFE—AT WORK—NEXT CHECK 6 PM.” Avoid creating a long conversation that consumes battery power or obscures the latest confirmed status.
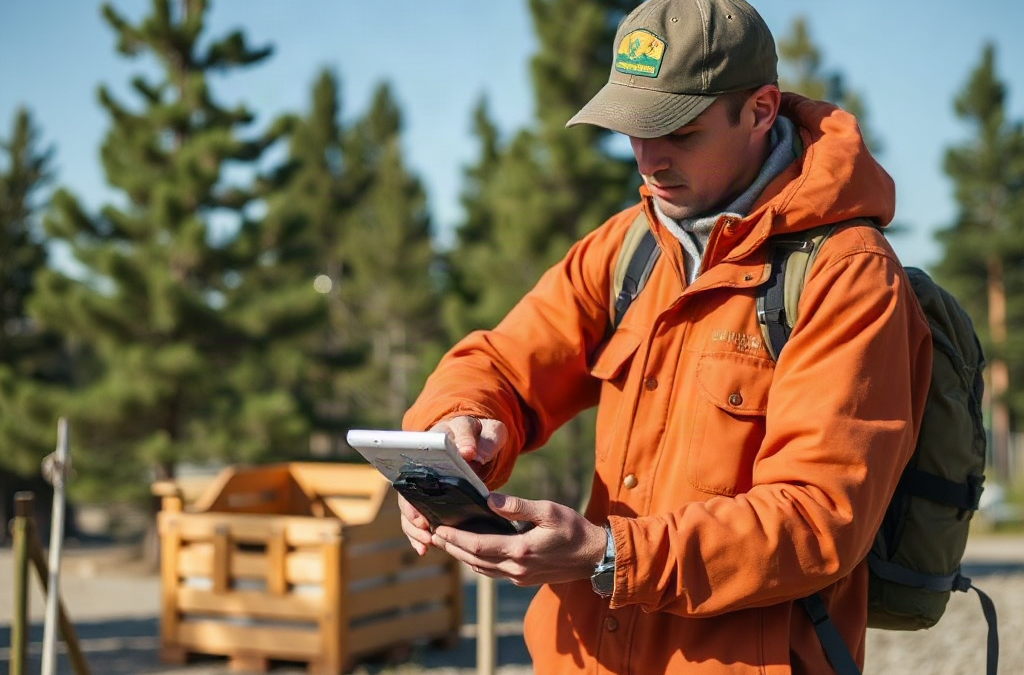
Two-way radios can be useful for neighbors, worksites, or family members within a tested area. Range depends on terrain, buildings, antenna position, power, and the specific radio service. A radio that works across an open park may perform poorly between concrete buildings. Users should know how to charge it, change channels, lock the keypad, and speak clearly. Do not assume that a channel is private; many consumer radios can be heard by anyone nearby using compatible equipment.
Written messages remain valuable when people may pass through different places at different times. A message-drop point should be protected from rain, easy for authorized people to recognize, and checked at defined intervals. Use a simple notation that records the date, time, writer, location, and next action. Avoid leaving personal details visible in public. A sealed envelope or agreed symbol may reduce casual exposure, but it should never substitute for a plan that considers theft or tampering.
These methods have different tradeoffs. Radios provide immediate local exchange but require proximity and practice. Texts can cross a wider area but depend on network service. Written notes require movement and may be missed, yet they remain available when electronics fail. The best choice depends on distance, mobility, privacy needs, likely outage type, and the users’ ability to operate the equipment.
A practical minimum setup includes a printed contact card, a paper map with marked meeting points, charging cables or a tested power bank, and one secondary method suited to the group’s distance. The common mistake is buying devices before testing the route and users. A radio left in packaging or a power bank with an unknown charge level is stored equipment, not a functioning backup.
Test, Maintain, and Trigger the Back-Up Arrangement
A backup becomes dependable through rehearsals that expose small failures before a real outage. Test the entire sequence, not merely whether a device turns on. Send a short message, make the scheduled call, operate the radio from likely locations, locate the paper instructions, and walk through the meeting decision. Record what worked and what did not.
Run at least two kinds of test. A normal test checks equipment and timing under ordinary conditions. A constrained test simulates a dead phone, unavailable internet, poor weather, or one person being away from home. If the plan depends on a neighbor, that person should understand the role and agree to it rather than discovering the arrangement during a crisis. Children, older adults, and people with disabilities may need simplified instructions or an alternative contact route.
Maintenance should be tied to ordinary routines. Check power banks, radio batteries, chargers, contact numbers, and meeting locations after moves, job changes, phone replacements, or changes in household membership. Review printed information when a number or address changes. Keep radios and paper materials where everyone can find them, but avoid making a public display of private contact details.
Trigger conditions prevent hesitation. A plan might activate when a household cannot reach a designated contact after a set number of attempts, when authorities advise against travel, or when a local outage lasts beyond a defined period. The trigger should not encourage risky movement. If roads are hazardous, the correct backup may be sheltering in place and leaving a written status message rather than heading toward the meeting point.
Signs that the arrangement is working include concise status exchanges, known decision times, and people choosing the same next step without a debate. Signs of failure include repeated contradictory messages, unnecessary travel, depleted batteries, and uncertainty about who is responsible for updates. Revise the plan after every exercise or real disruption. The back-up plan for lost communication should remain small enough to remember and detailed enough to prevent avoidable guesswork.
A compact review sequence is useful:
Confirm the person’s safety and immediate location.
Conserve power and switch from repeated calls to brief messages.
Use the secondary method appropriate to the distance and outage.
Follow the meeting or message-drop rule only when conditions permit.
Escalate through emergency services or official information channels when there is an immediate threat.
That sequence is not a substitute for emergency services. It is a way to reduce confusion while people wait for ordinary communication to return or decide whether further action is warranted.
Readers can compare their arrangements with communication guidance from local emergency management offices, public safety agencies, and the Federal Communications Commission. Official local alerts are particularly useful for understanding area-specific reception problems, road restrictions, shelter locations, and available public information channels.
Frequently Asked Questions
What should be the first backup when phone calls fail?
Try a brief text message, conserve battery power, and follow the agreed check-in schedule. Move to another method only when it suits the distance and the likely cause of the failure.
Can a two-way radio replace a mobile phone?
No. Radios may support nearby communication, but their range, terrain performance, privacy, power, and licensing requirements differ. Test the exact models and locations before relying on them.
Where should people meet if communication is unavailable?
Choose a primary and alternate location that are recognizable, accessible, and outside likely hazards. Add a time window and a rule for leaving so nobody waits indefinitely or travels into unsafe conditions.
Why keep paper contact information?
Paper remains usable when a phone is lost, damaged, uncharged, or locked behind an inaccessible account. Store copies securely and update them after number, address, or household changes.
How often should a communication backup be tested?
Test it after major changes and at regular intervals that fit the household’s routine. Include a constrained test so users practice when a device, network, or meeting location is unavailable.
Conclusion
A workable communication fallback is built around decisions, not gadgets. Identify whether the likely failure involves power, network coverage, congestion, distance, or human confusion, then match each problem with a suitable alternative. Put contact numbers, meeting points, check-in times, and escalation rules on paper. Add text messaging, a tested local radio, or a protected message drop only when that method fits the people and places involved.
Keep instructions short enough to use under pressure, and test them from realistic locations. Correct weak assumptions such as “someone will know where I am,” “a radio works everywhere,” or “silence proves the worst.” After each drill or disruption, replace obsolete numbers, recharge equipment, and revise unsafe meeting arrangements. That maintenance is what turns a written intention into a dependable response.